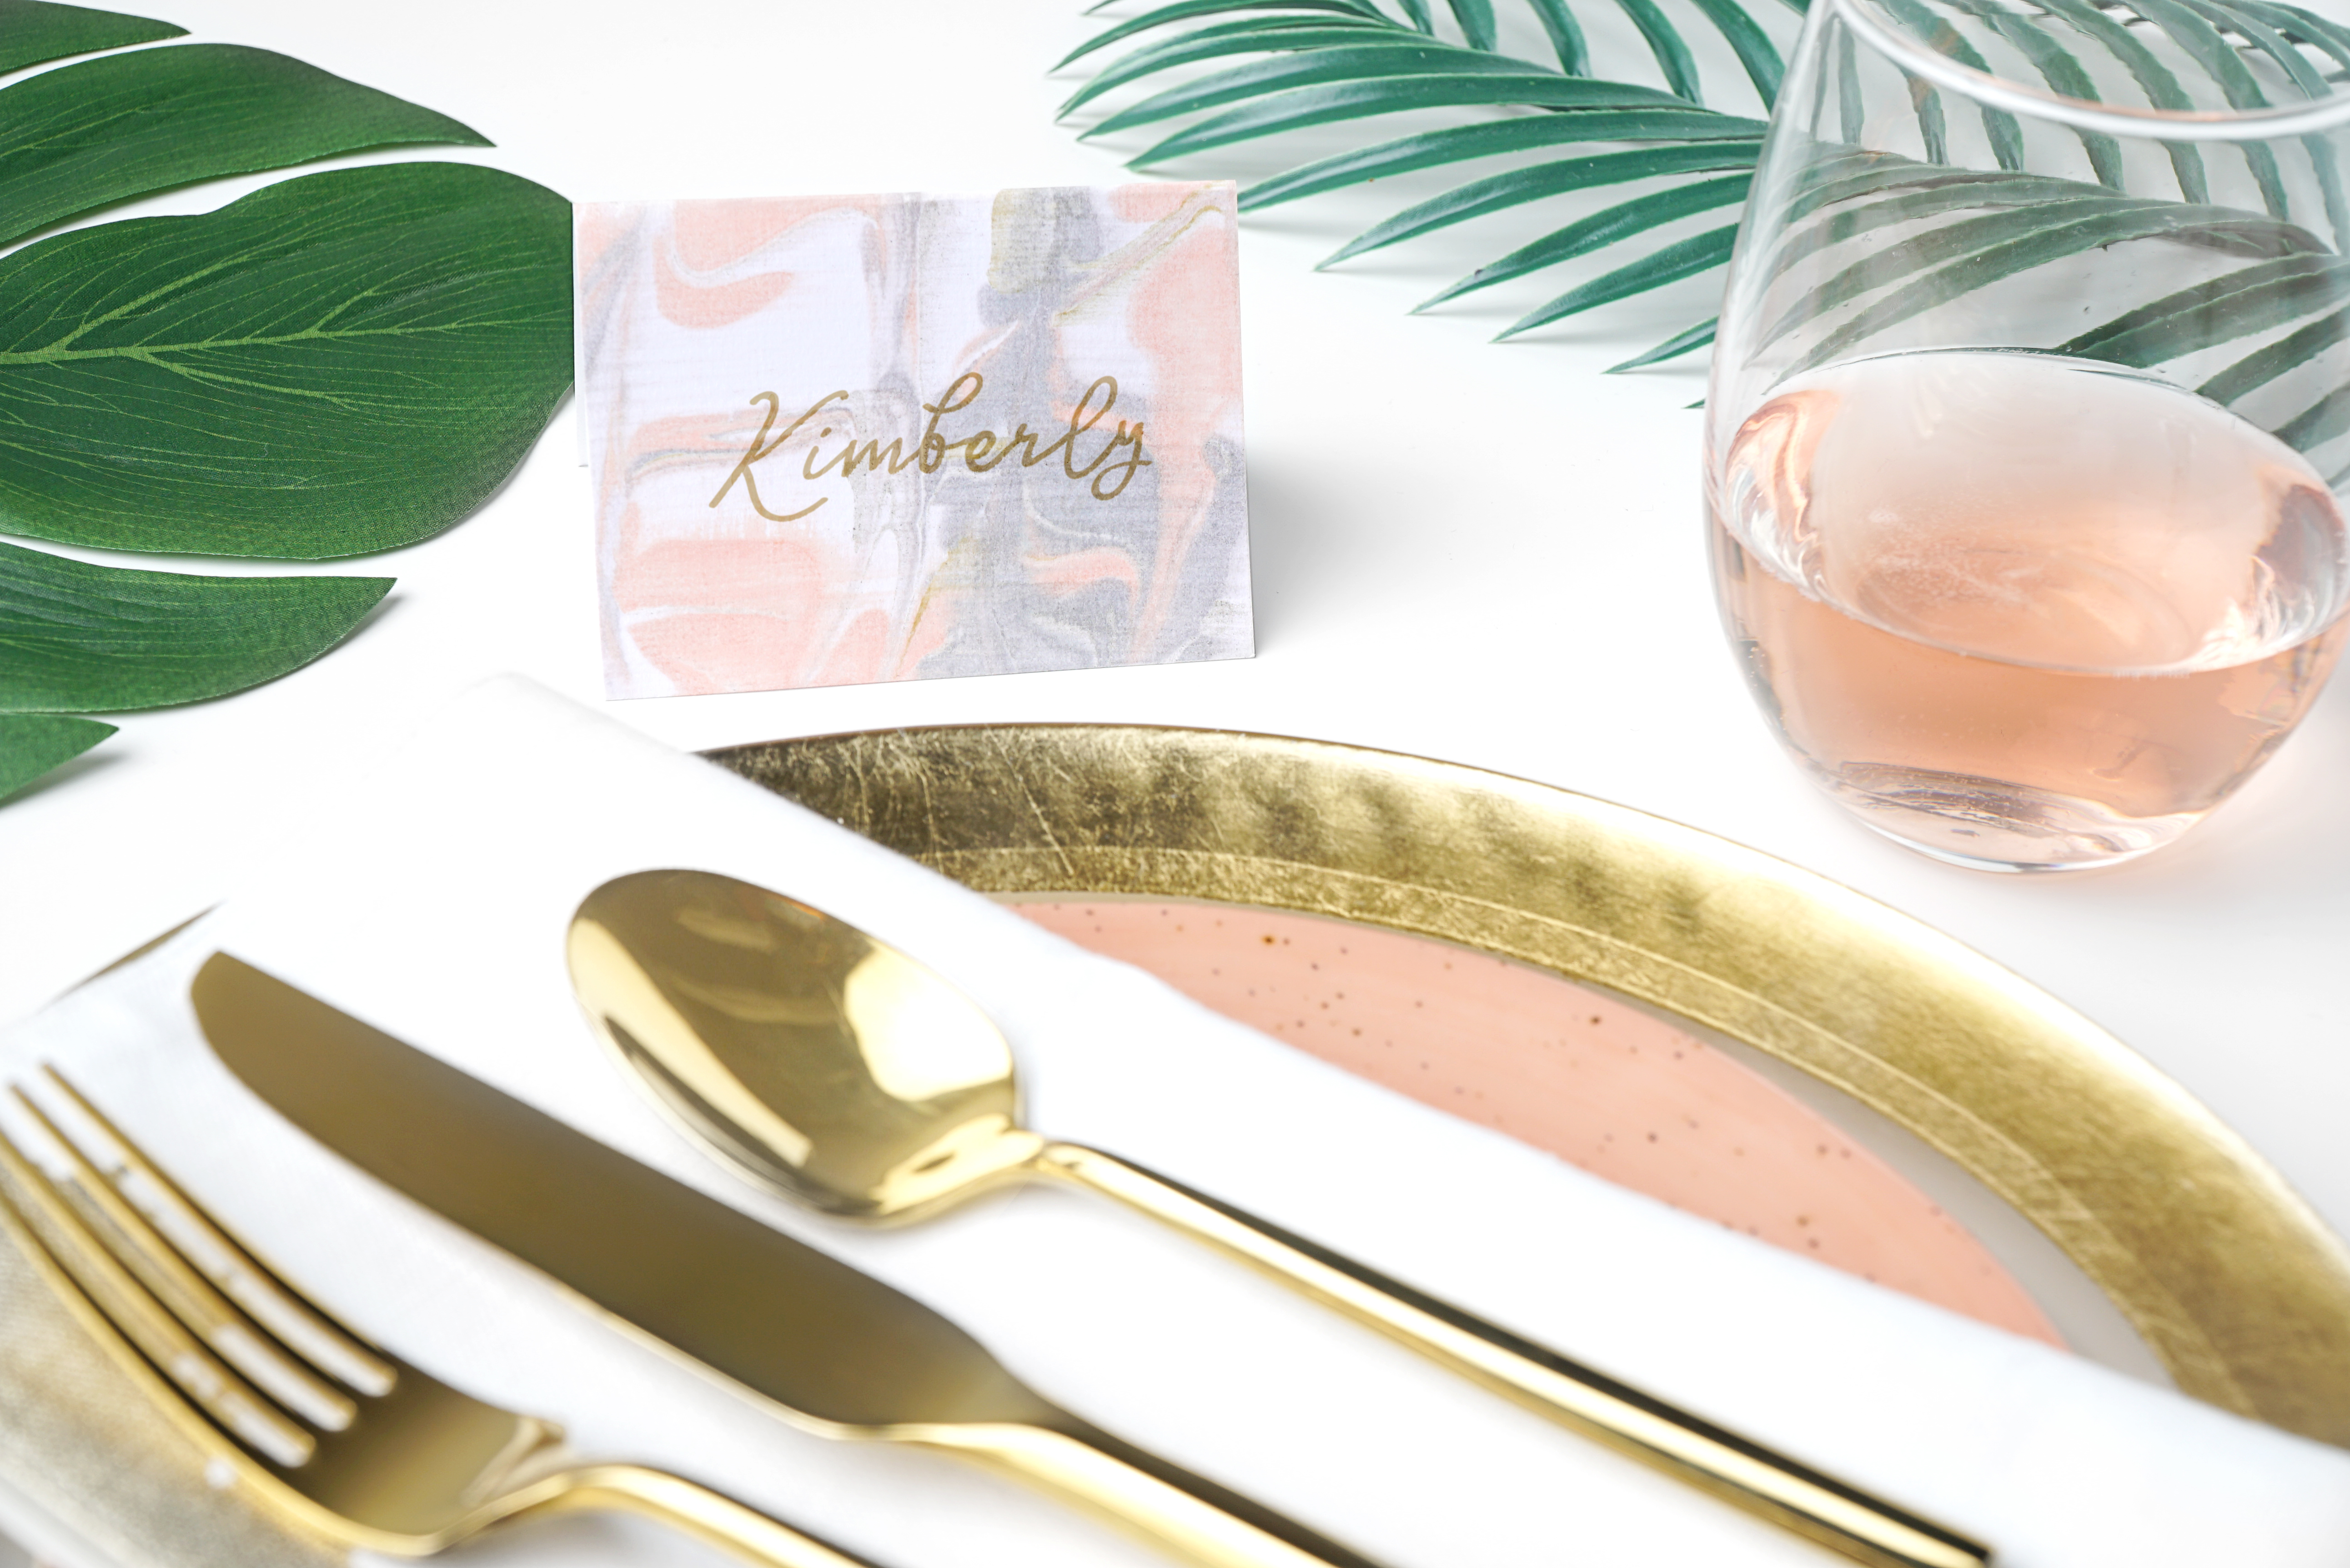
How to Make Paper Marbled Place Cards
When you’re planning an event, whether it’s a holiday party or a casual get together, the details make all the difference. Adding unique, personalized touches throughout the space will catch the attention of your guests and make them feel special for being invited. Follow these seven simple steps and you’ll have unique marbled place cards that will be the talk of the town for weeks to come.
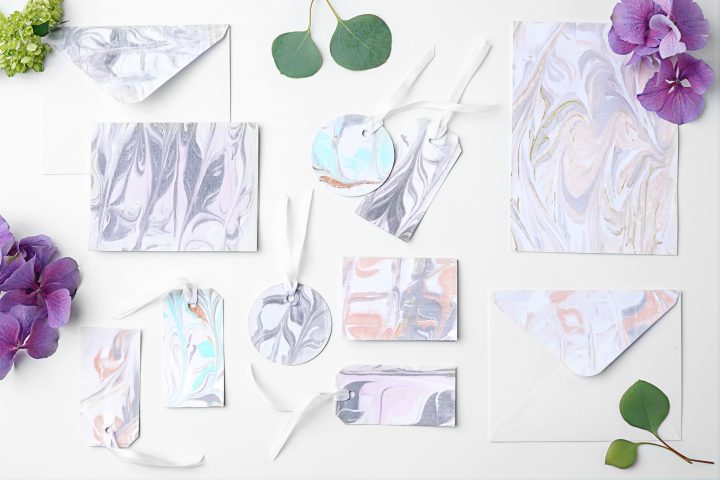
Marbled Place Card Materials:
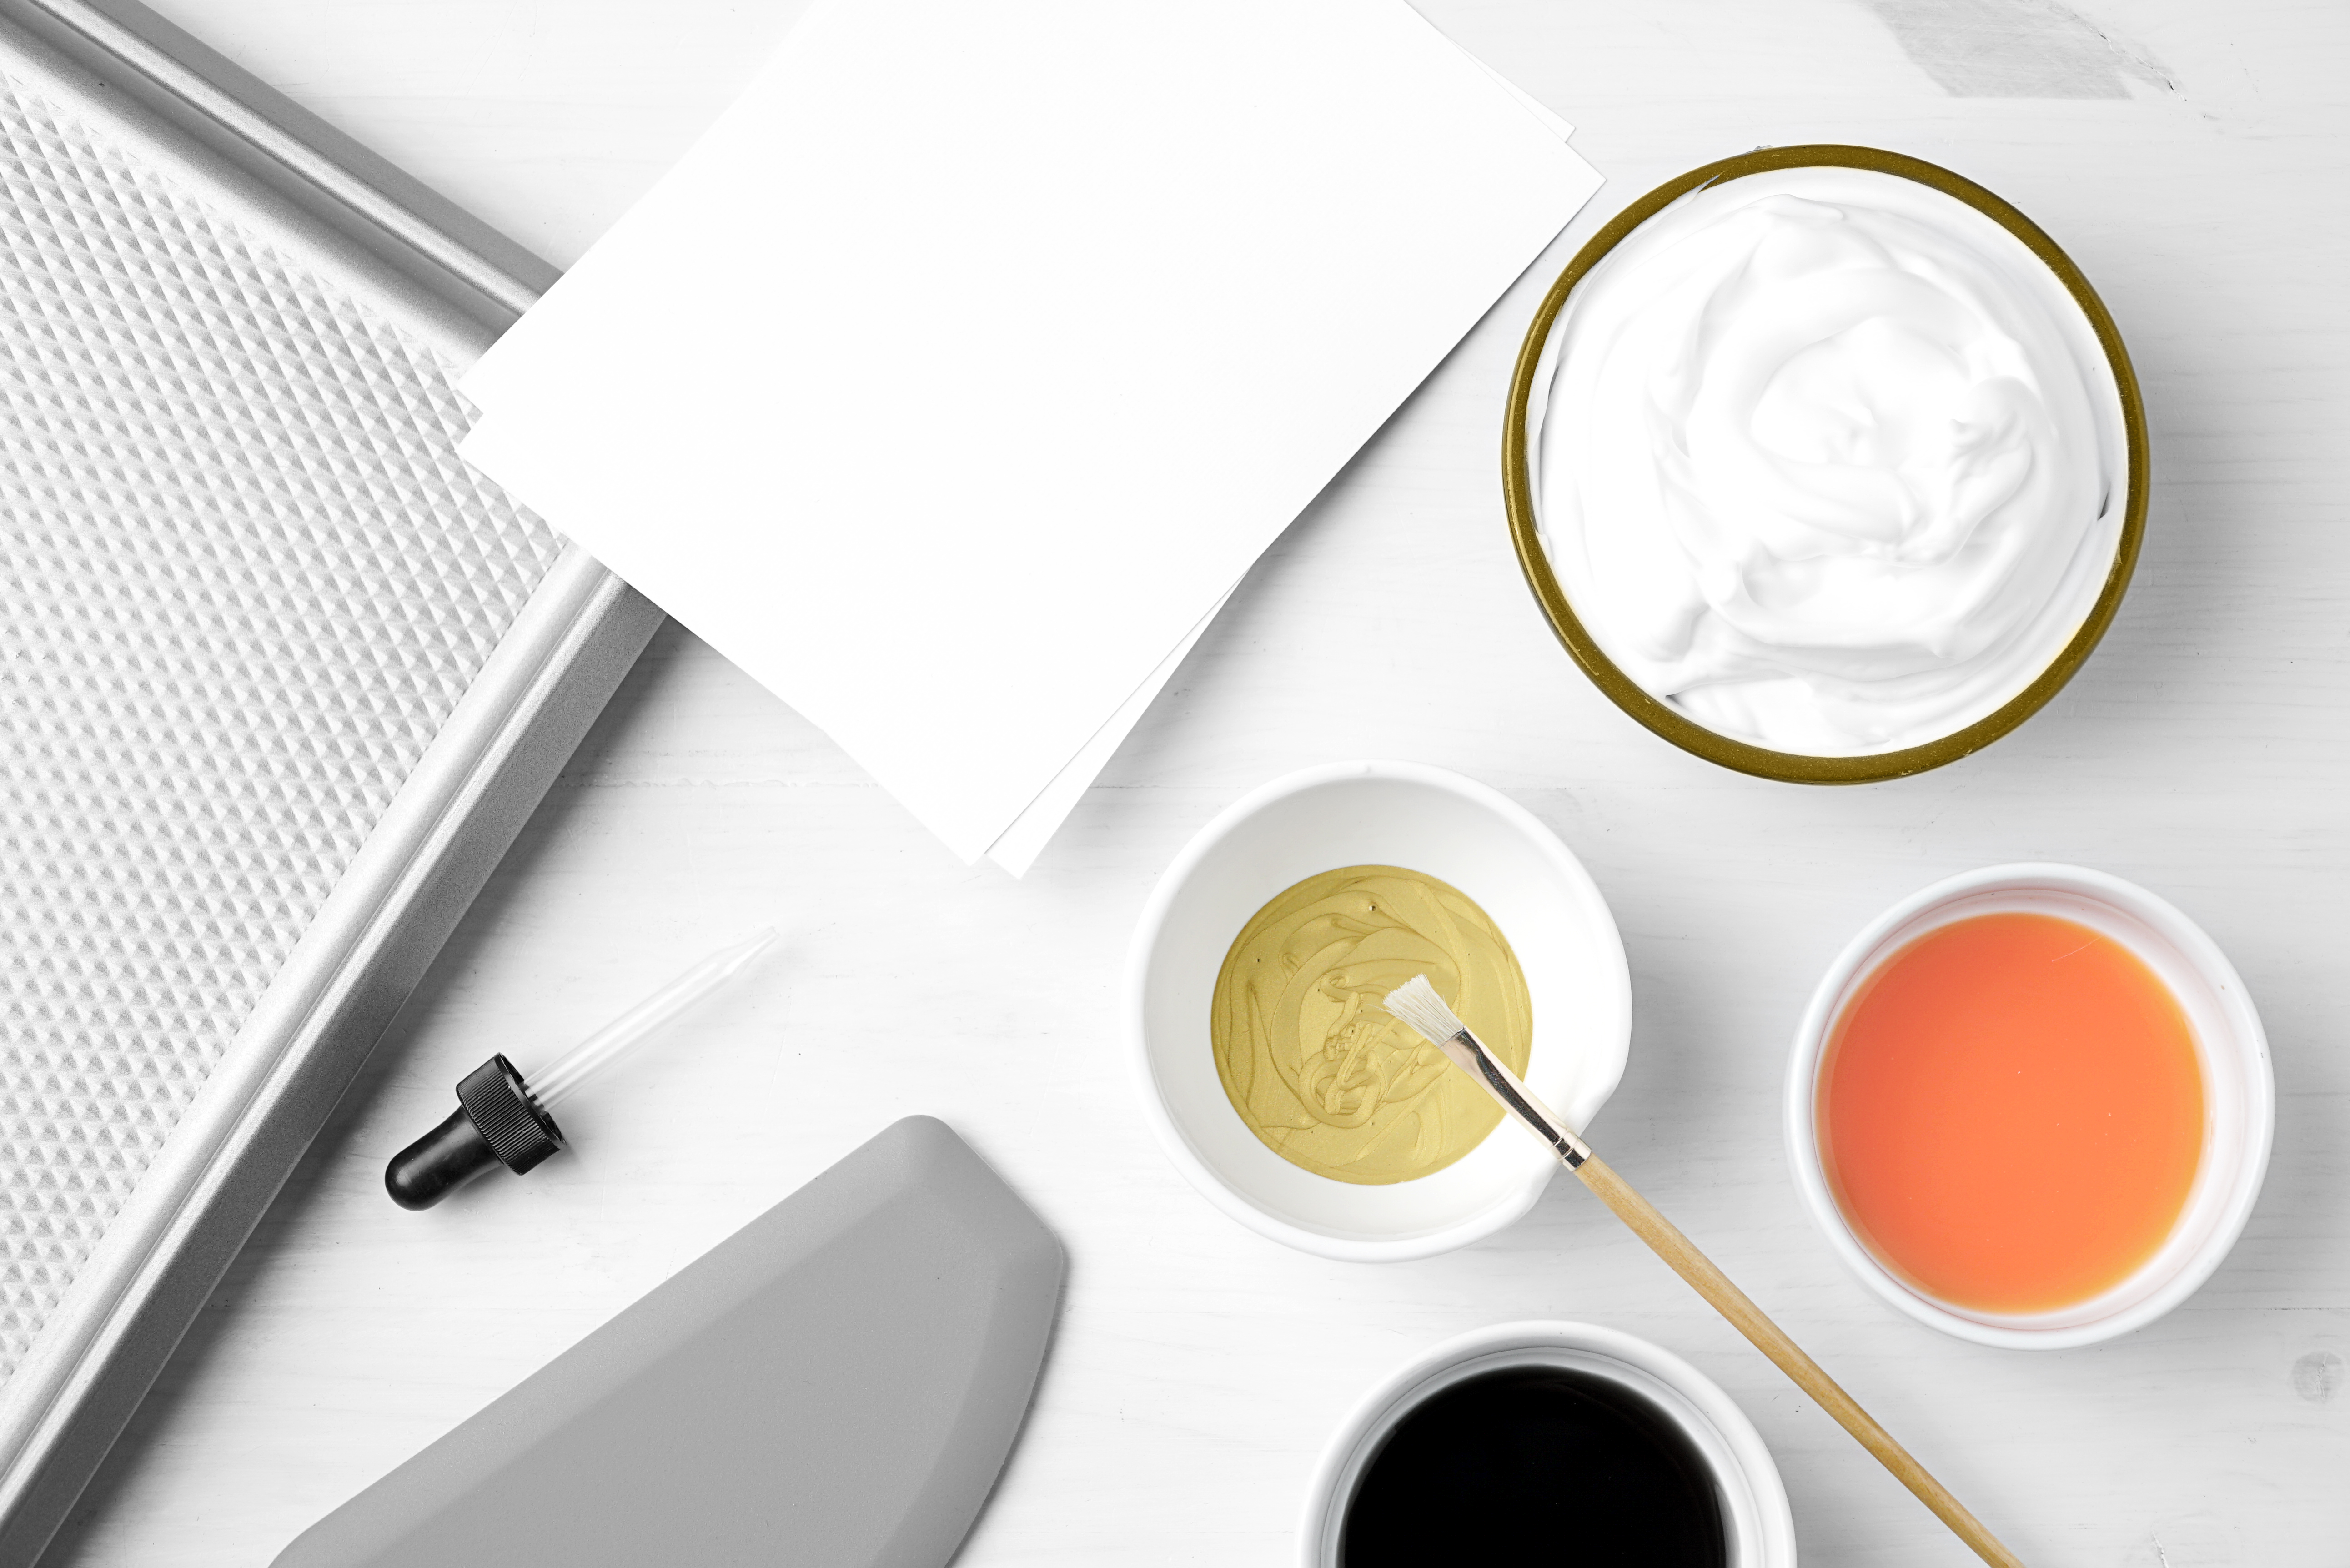
- Baking sheet
- Shaving cream (must be foam not gel)
- Watercolors and acrylic paint
- Cardstock
- Paint brush
- Dropper
- Scraper (paint scraper, ruler or any flat edge)
Step 1: Fill the baking sheet with shaving cream.
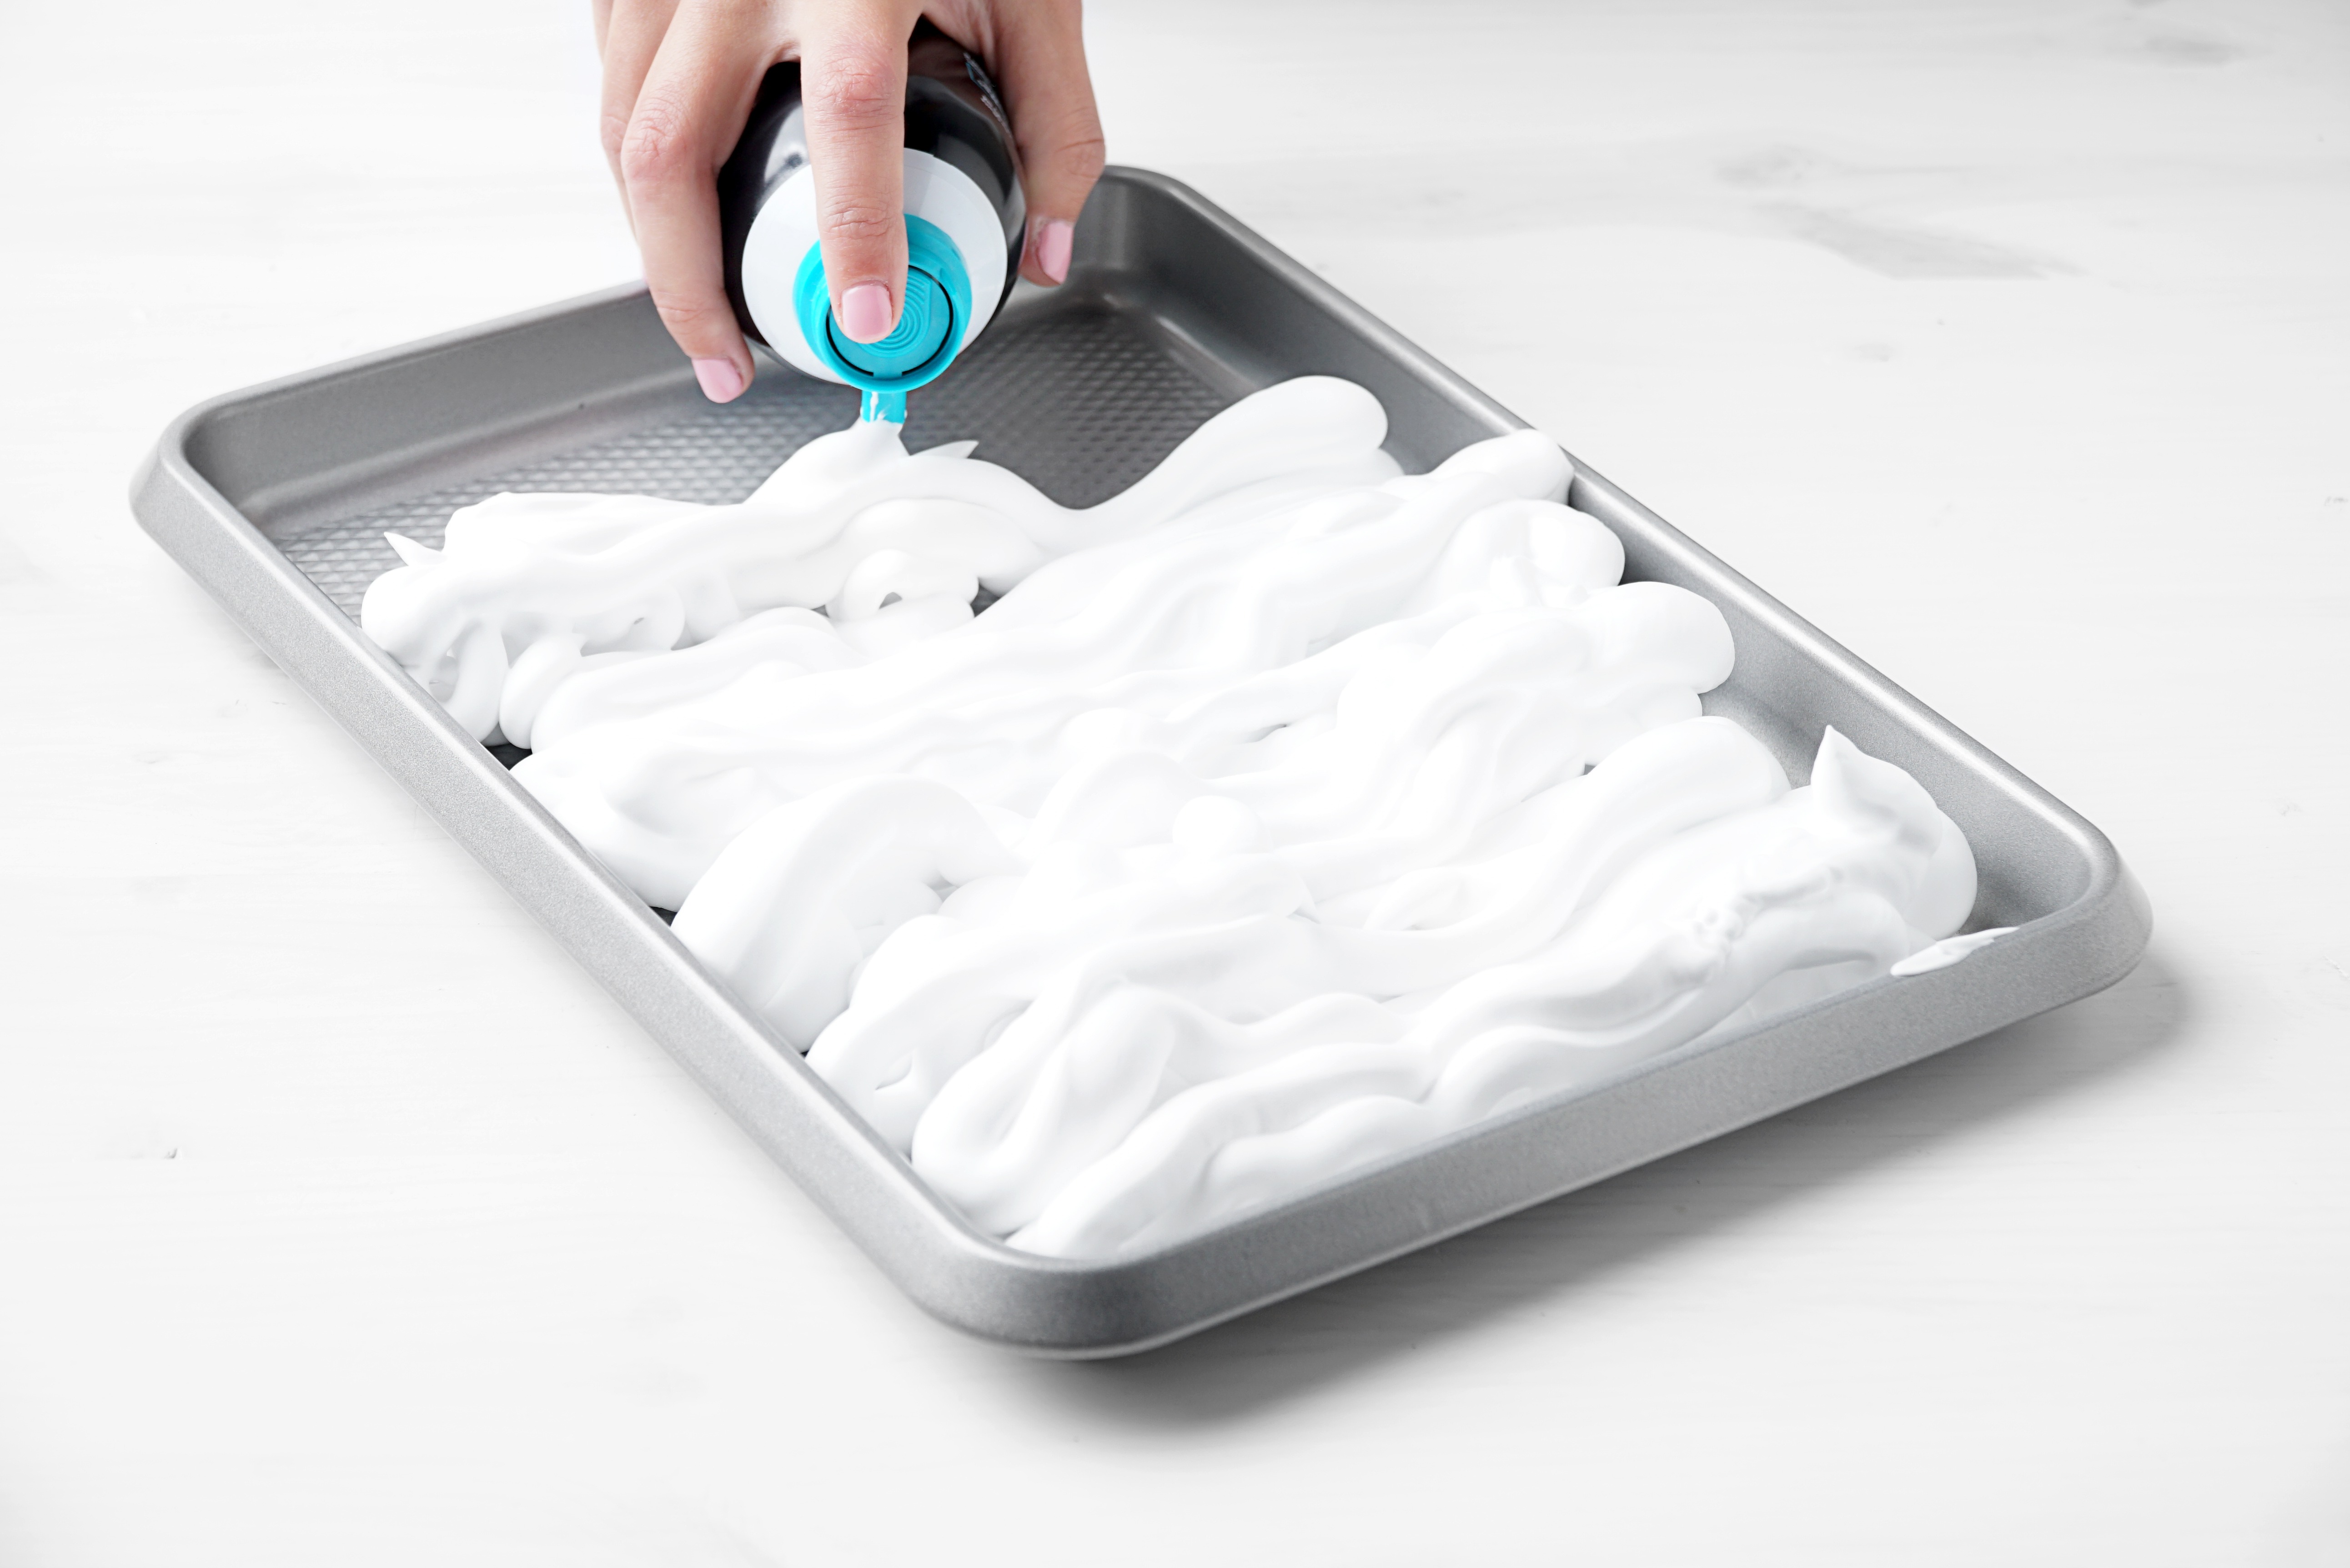
Step 2: Smooth out the surface of the shaving cream.
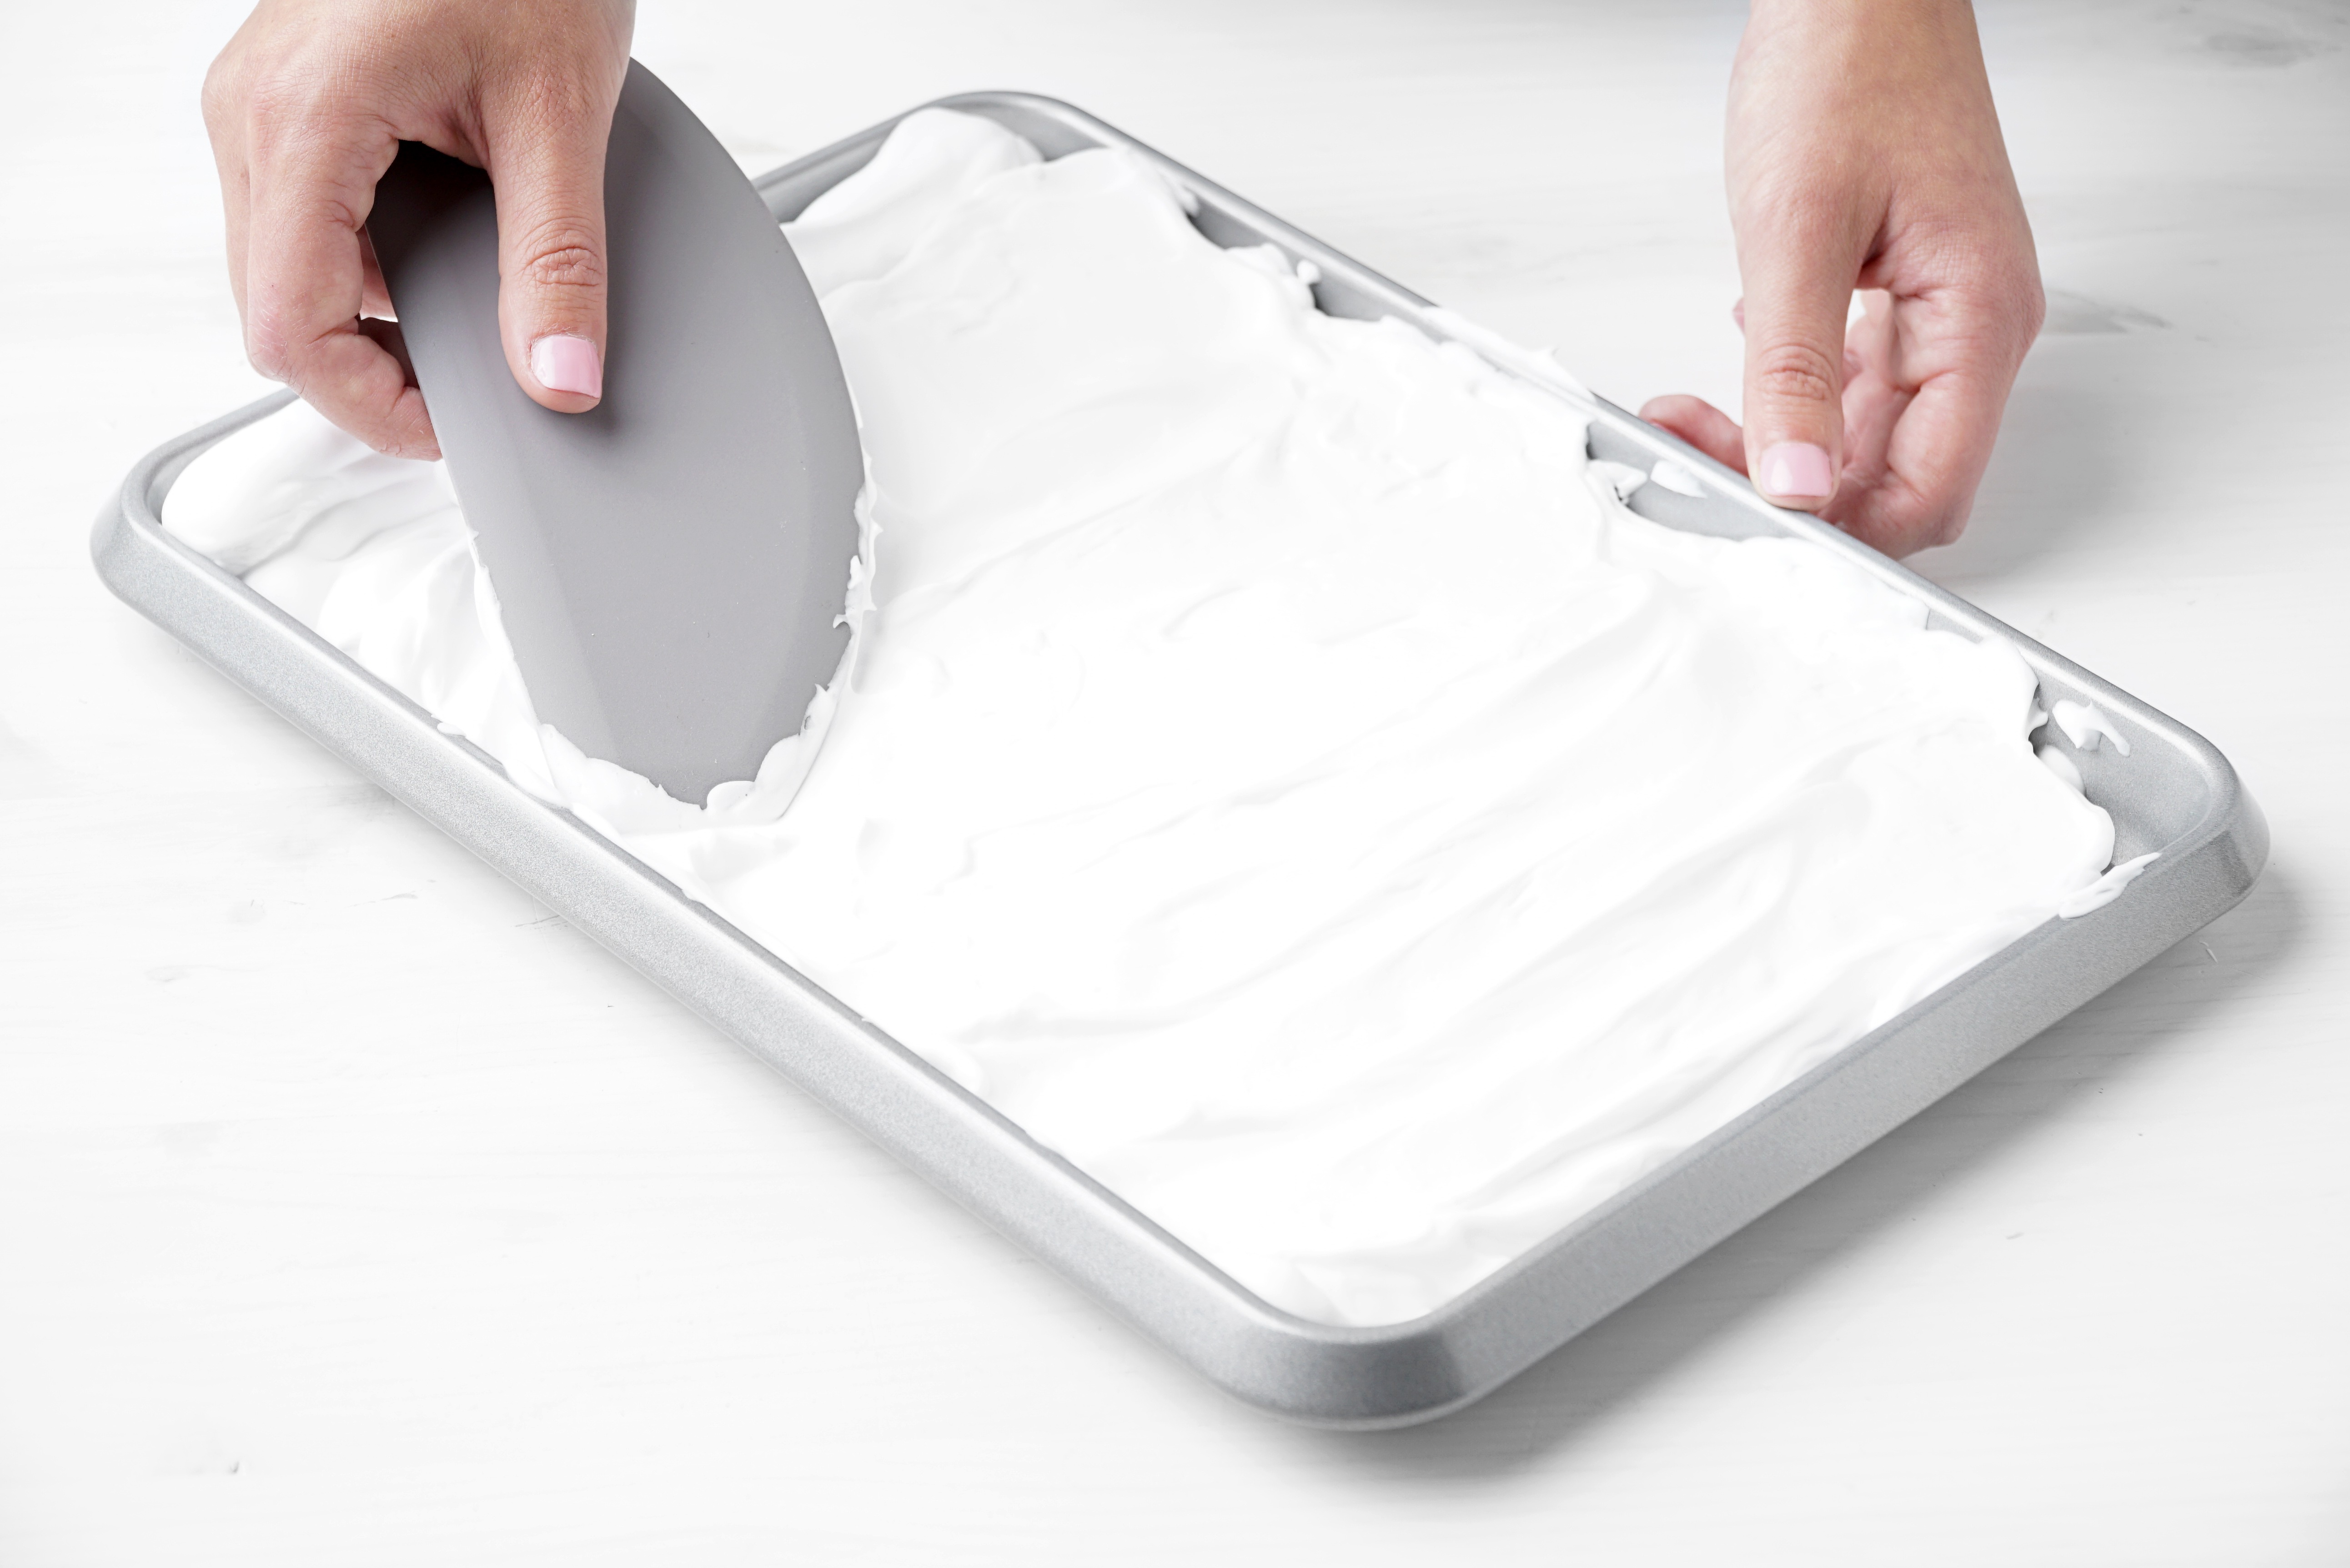
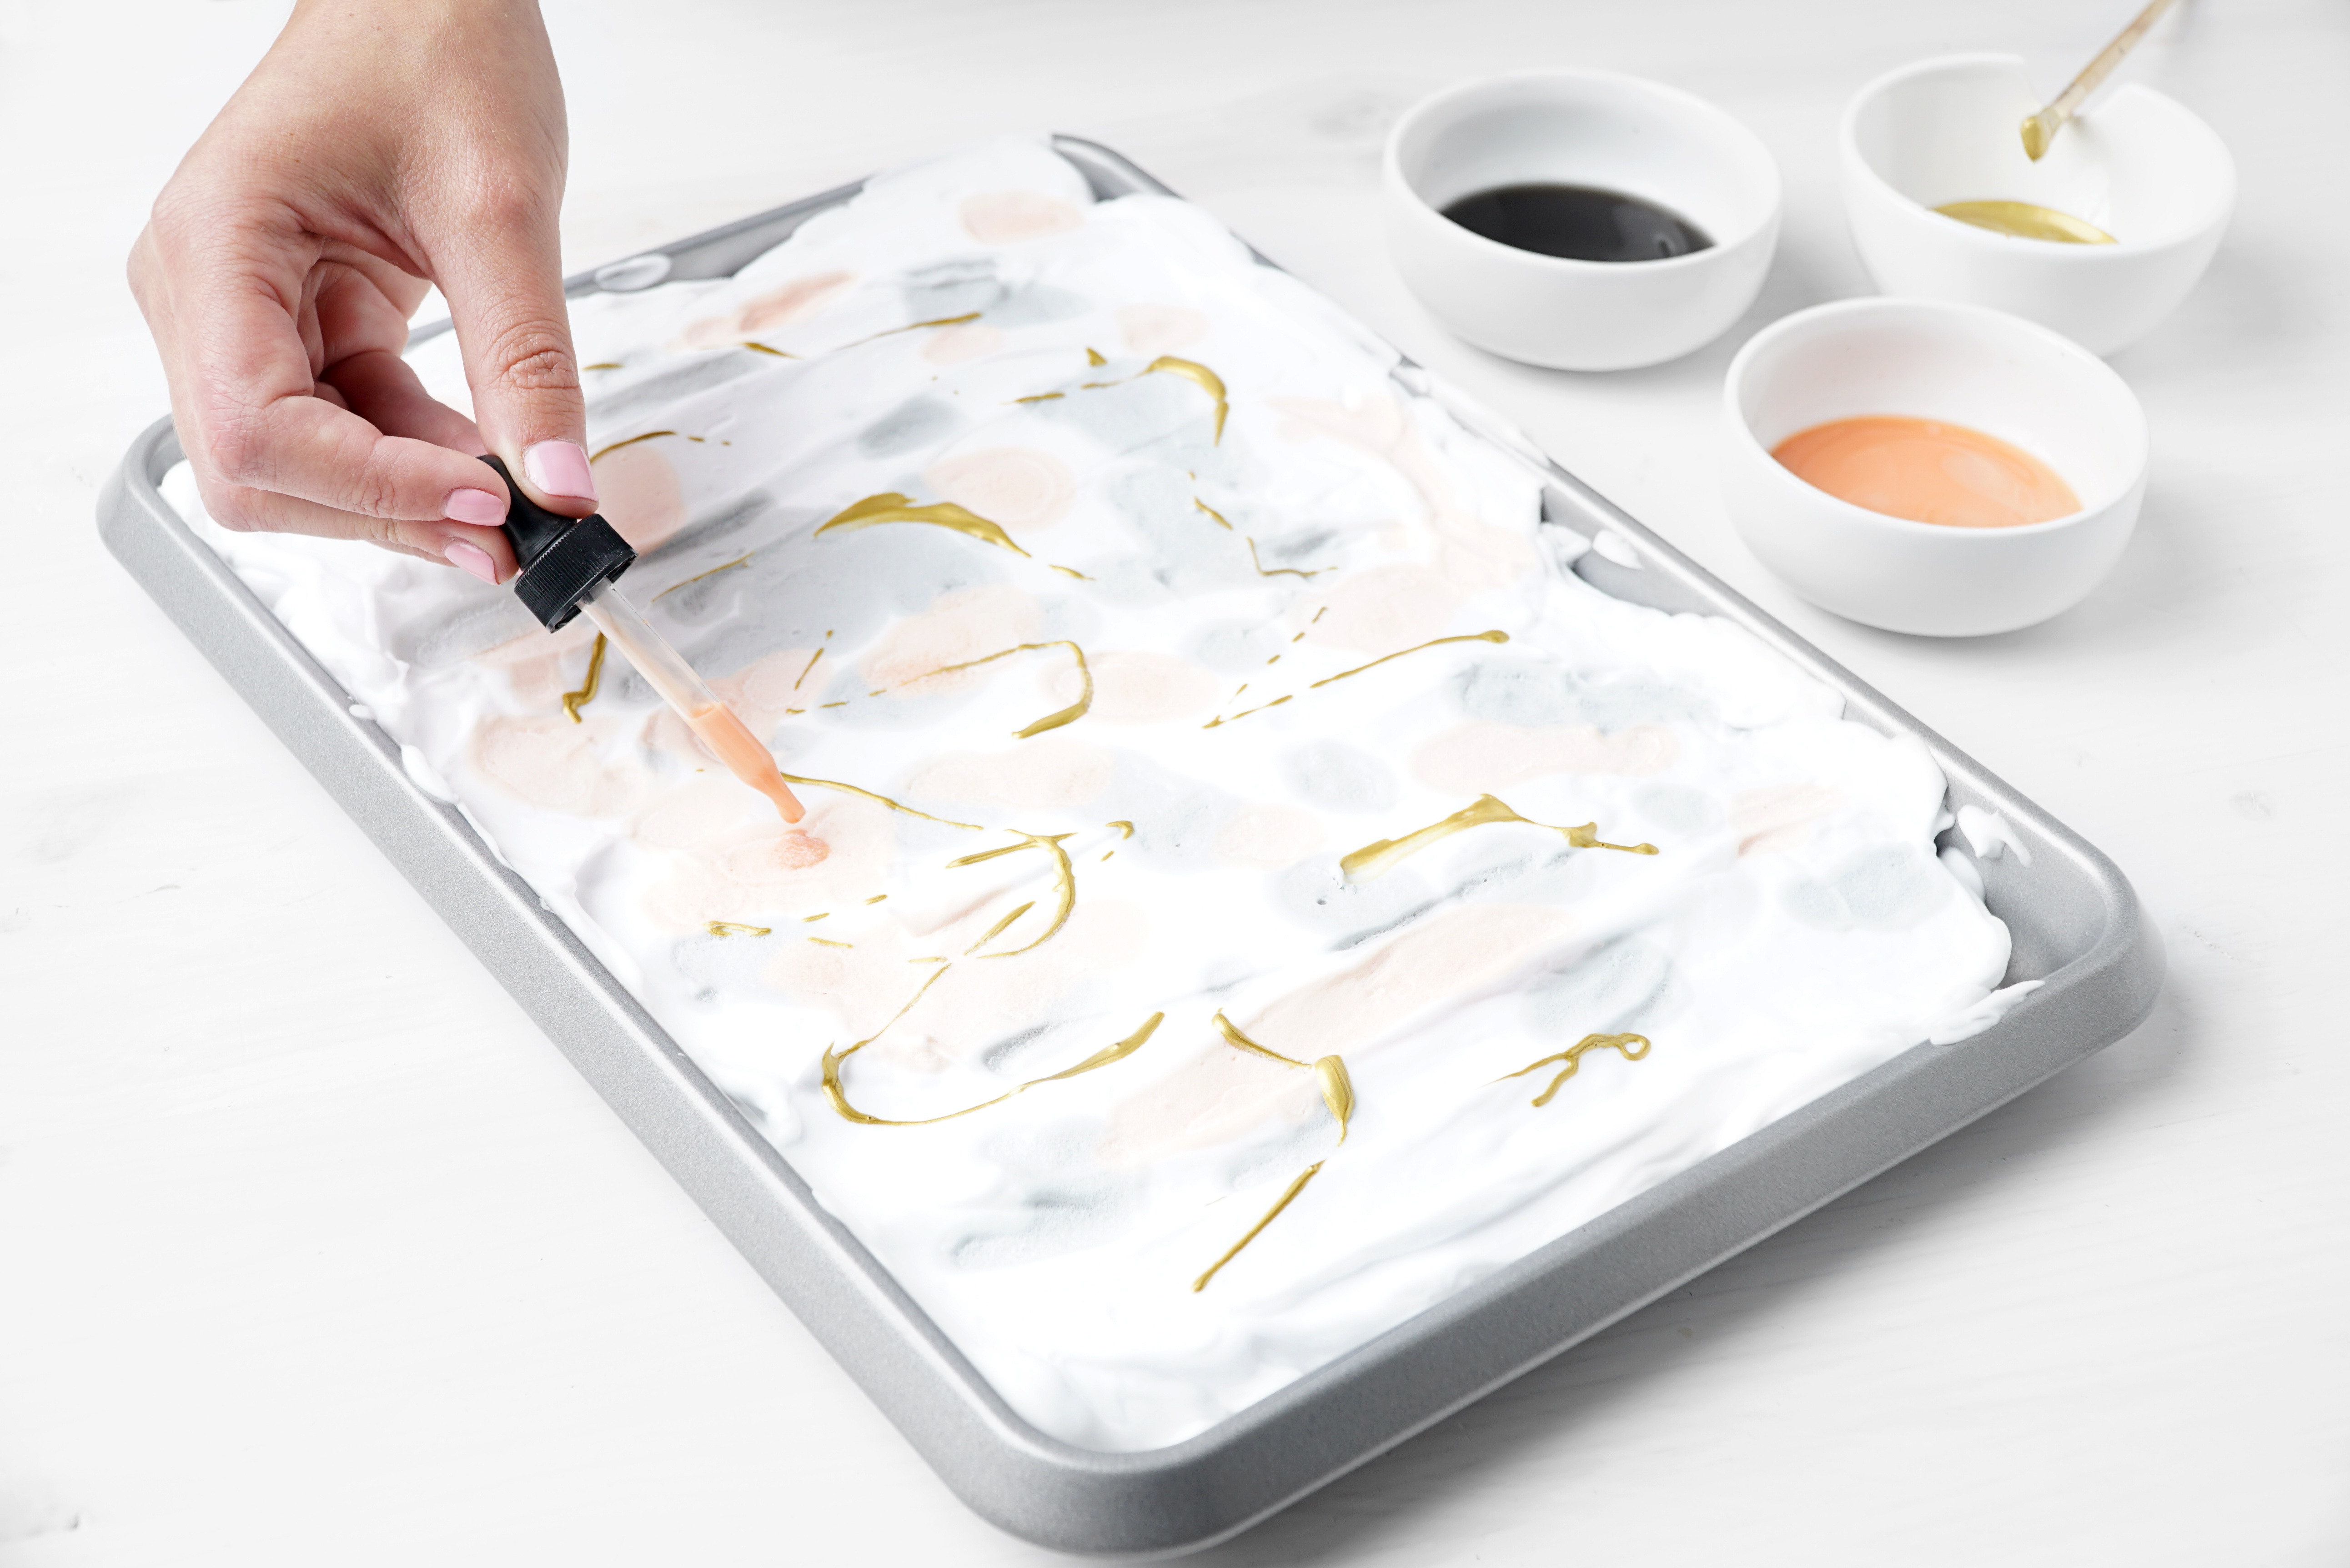
Step 3: Add in two to three colors with a dropper.
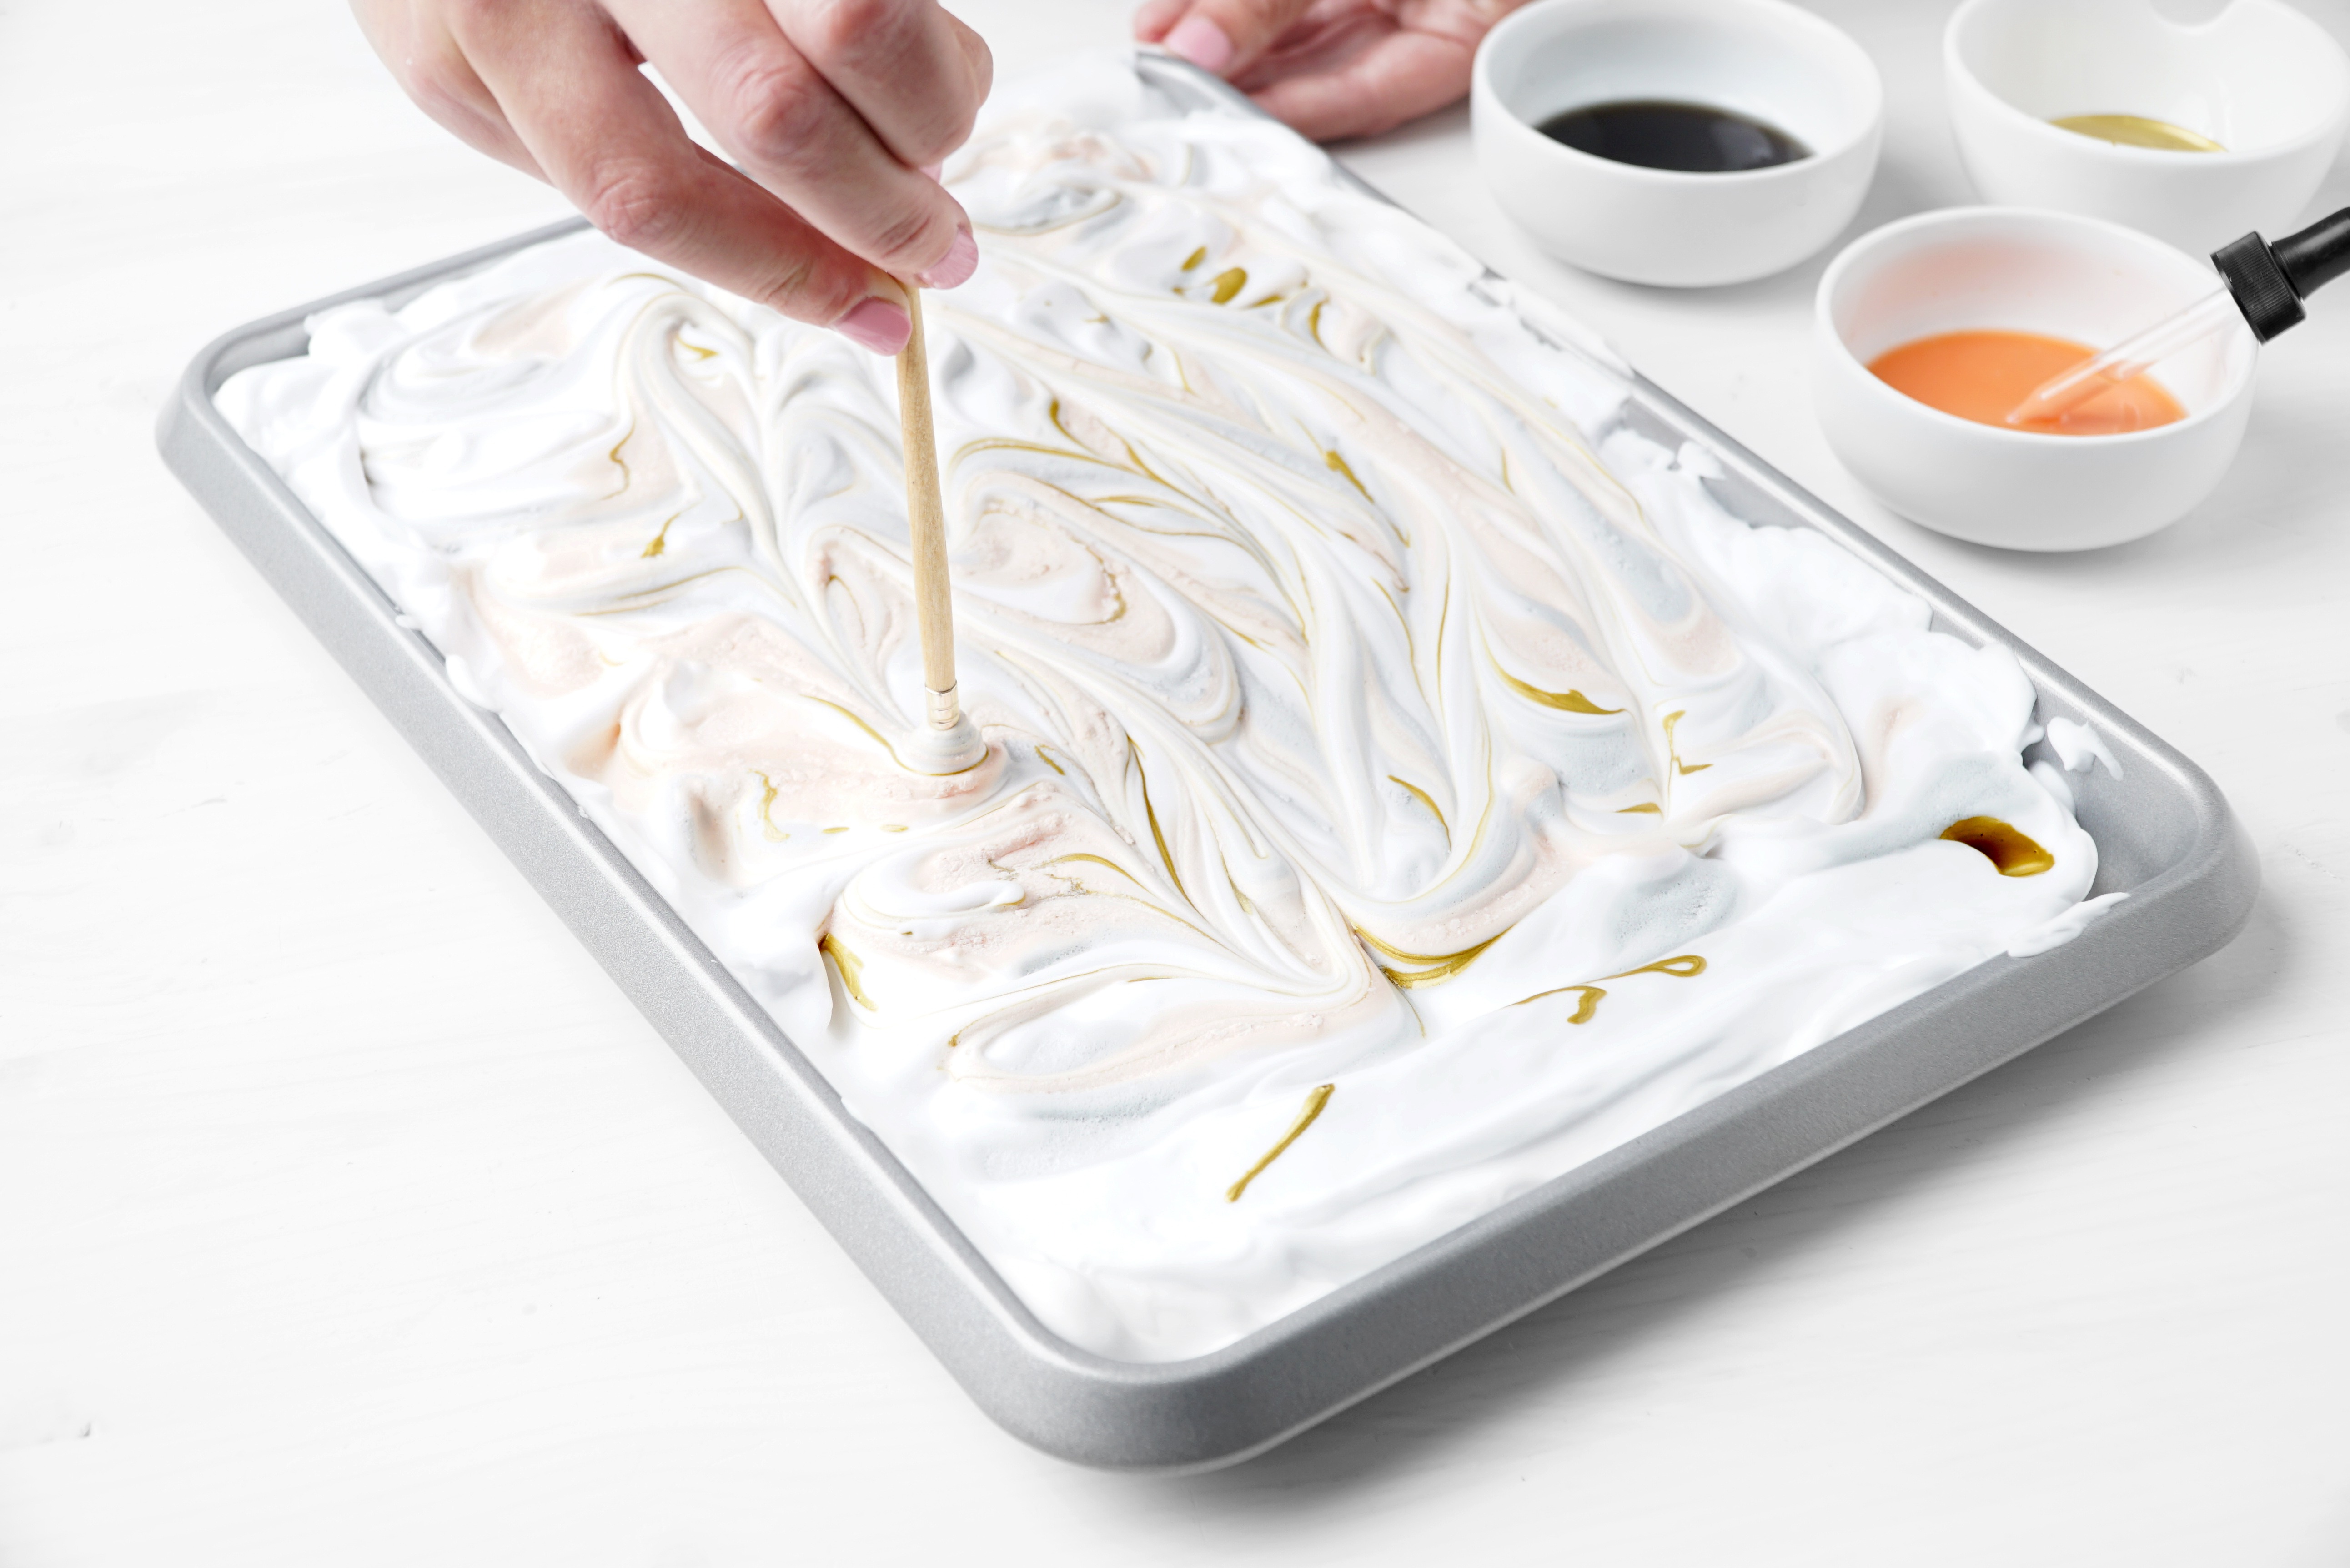
Step 4: Swirl the colors in a figure 8 pattern.
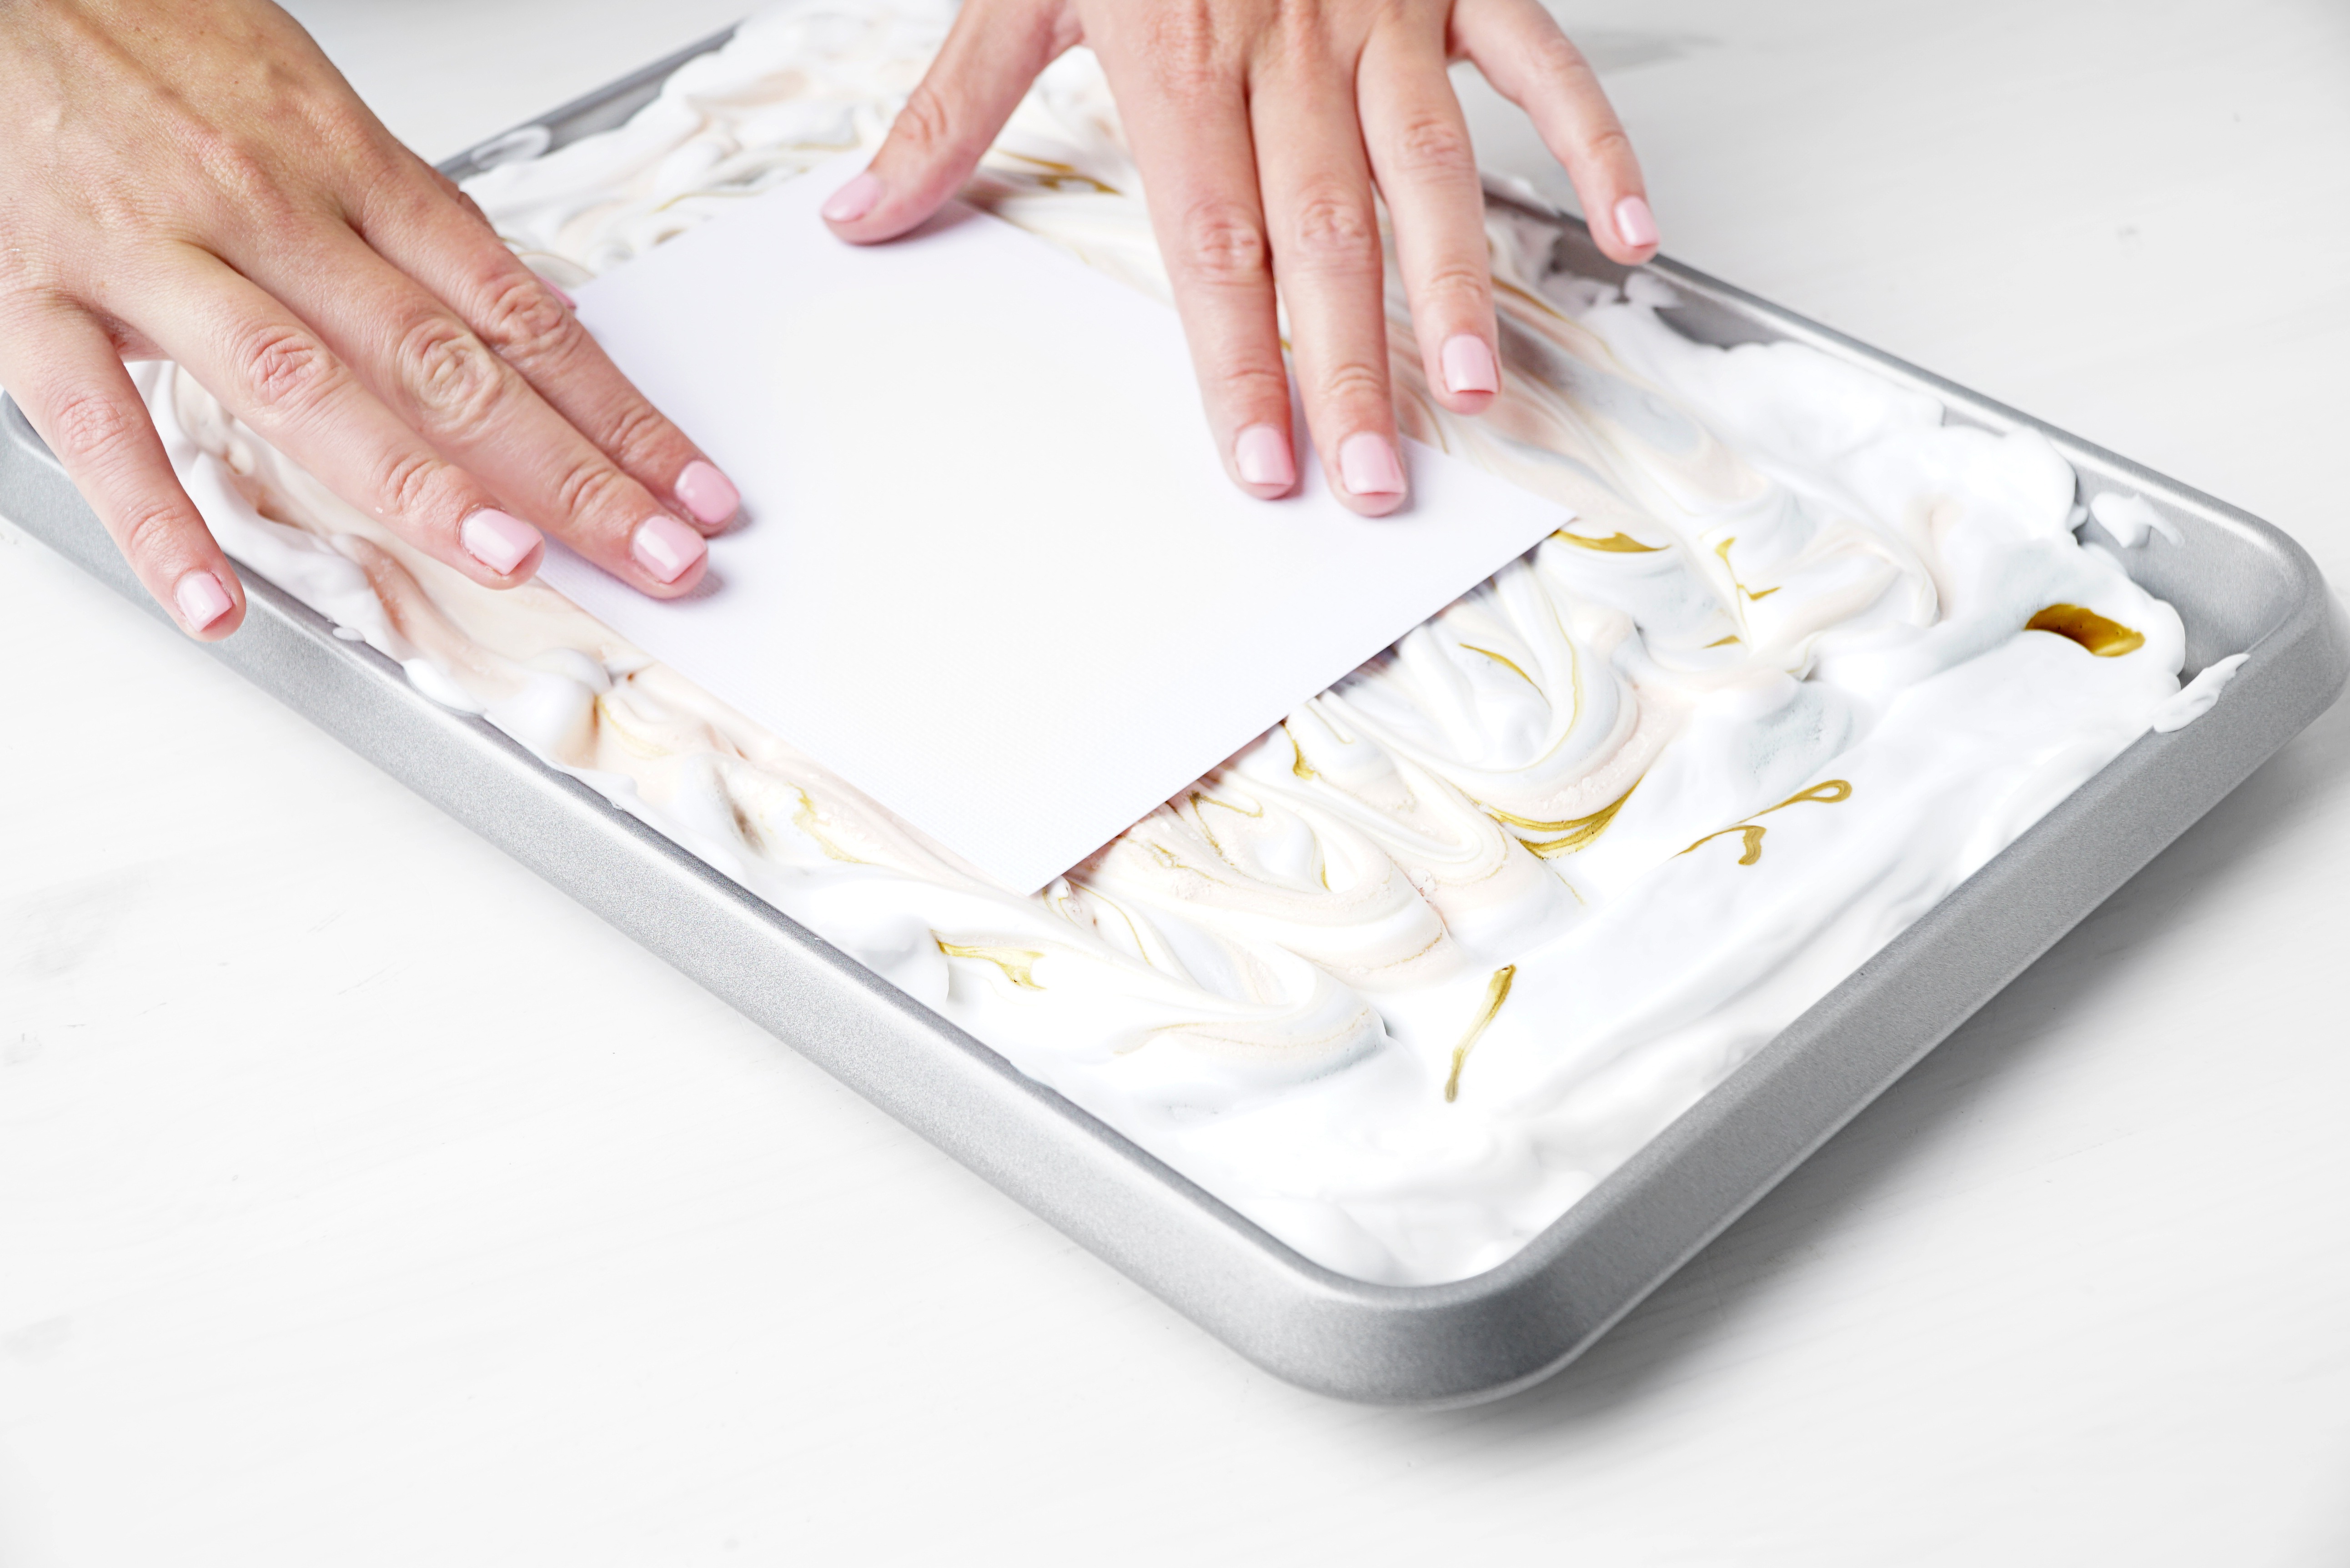
Step 5: Lightly press the cardstock into the shaving cream.
Step 6: Remove and scrape off the extra shaving cream.
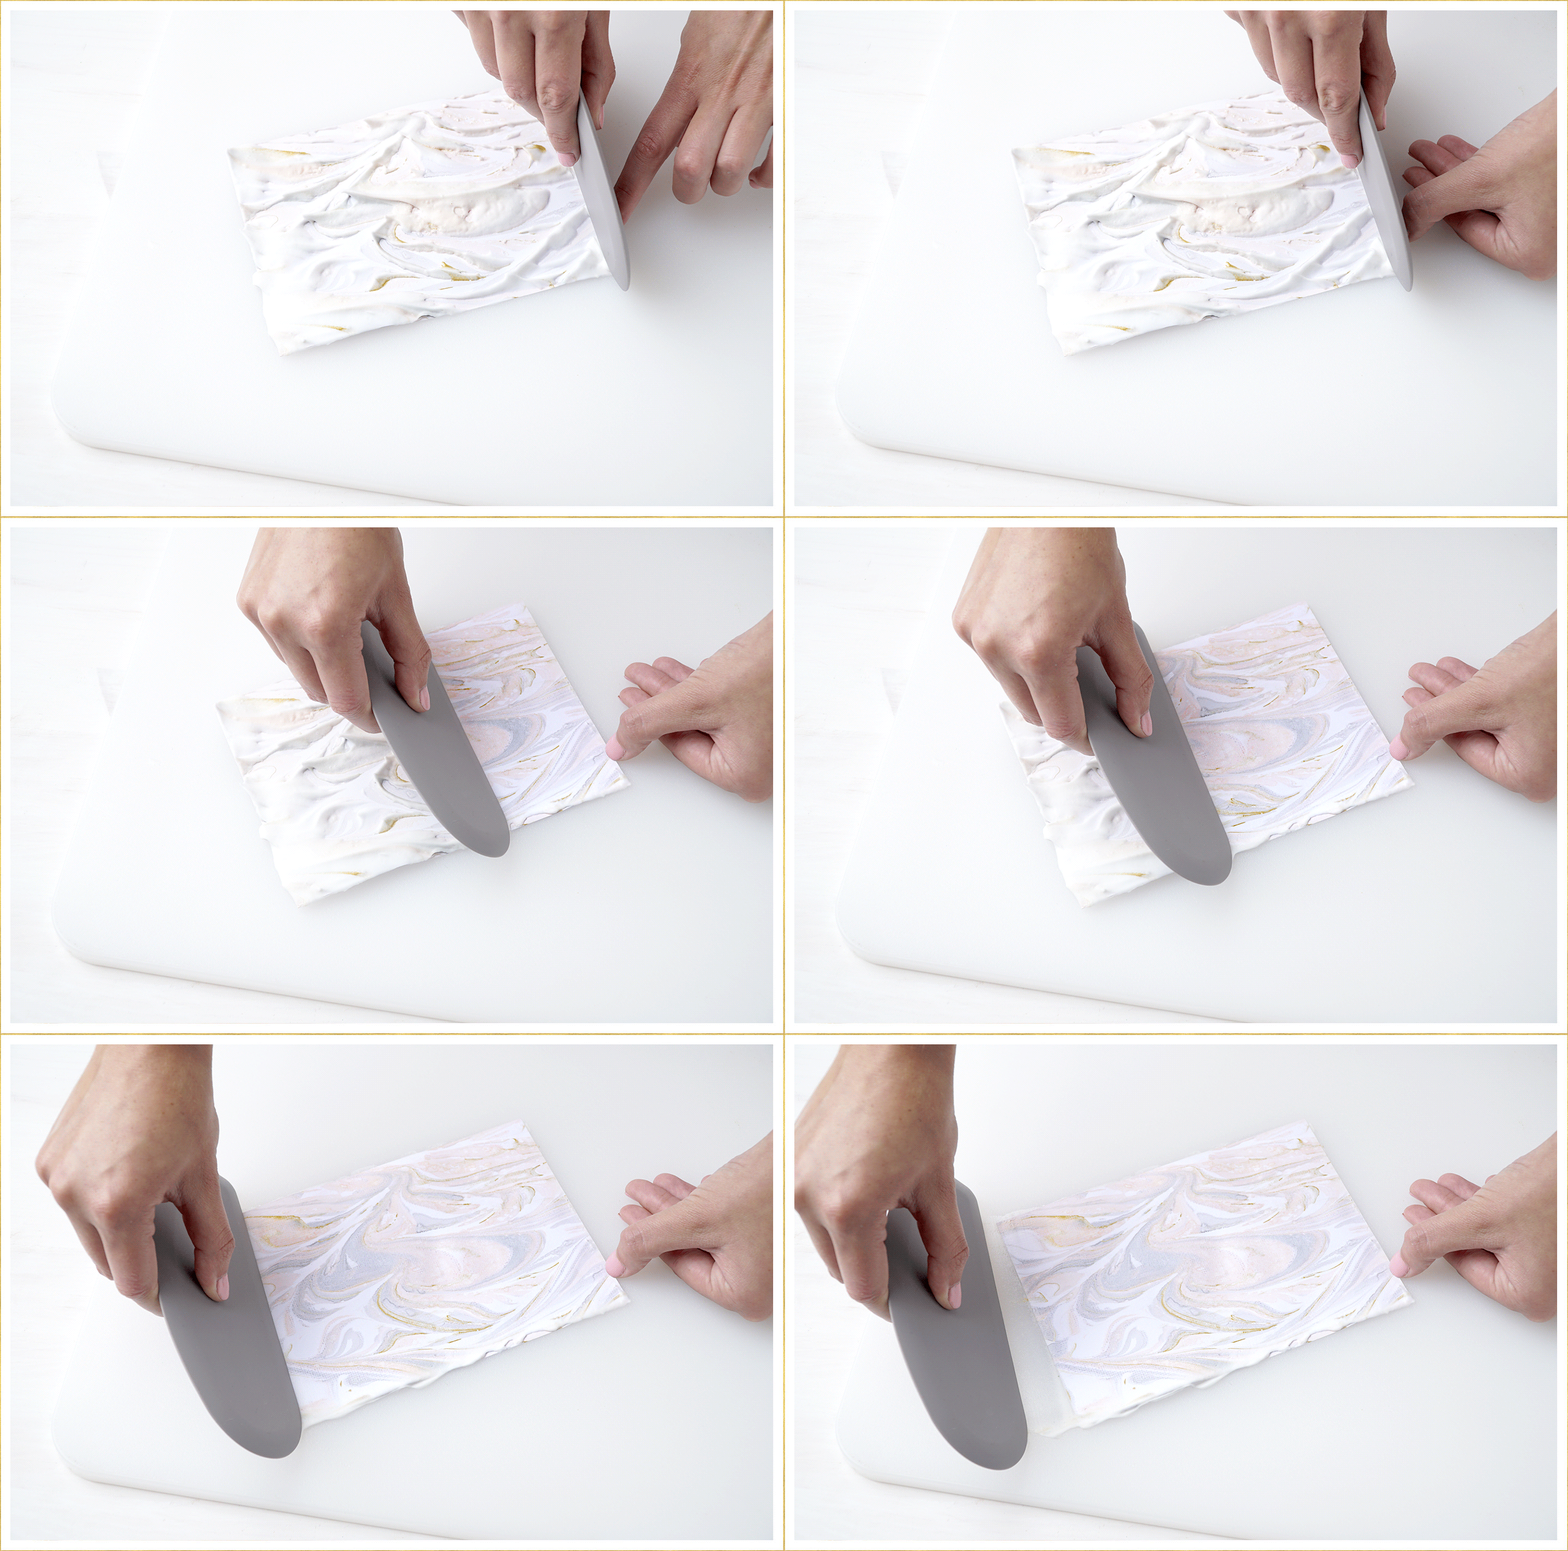
Step 7: Let dry and cut into rectangles to create place cards.
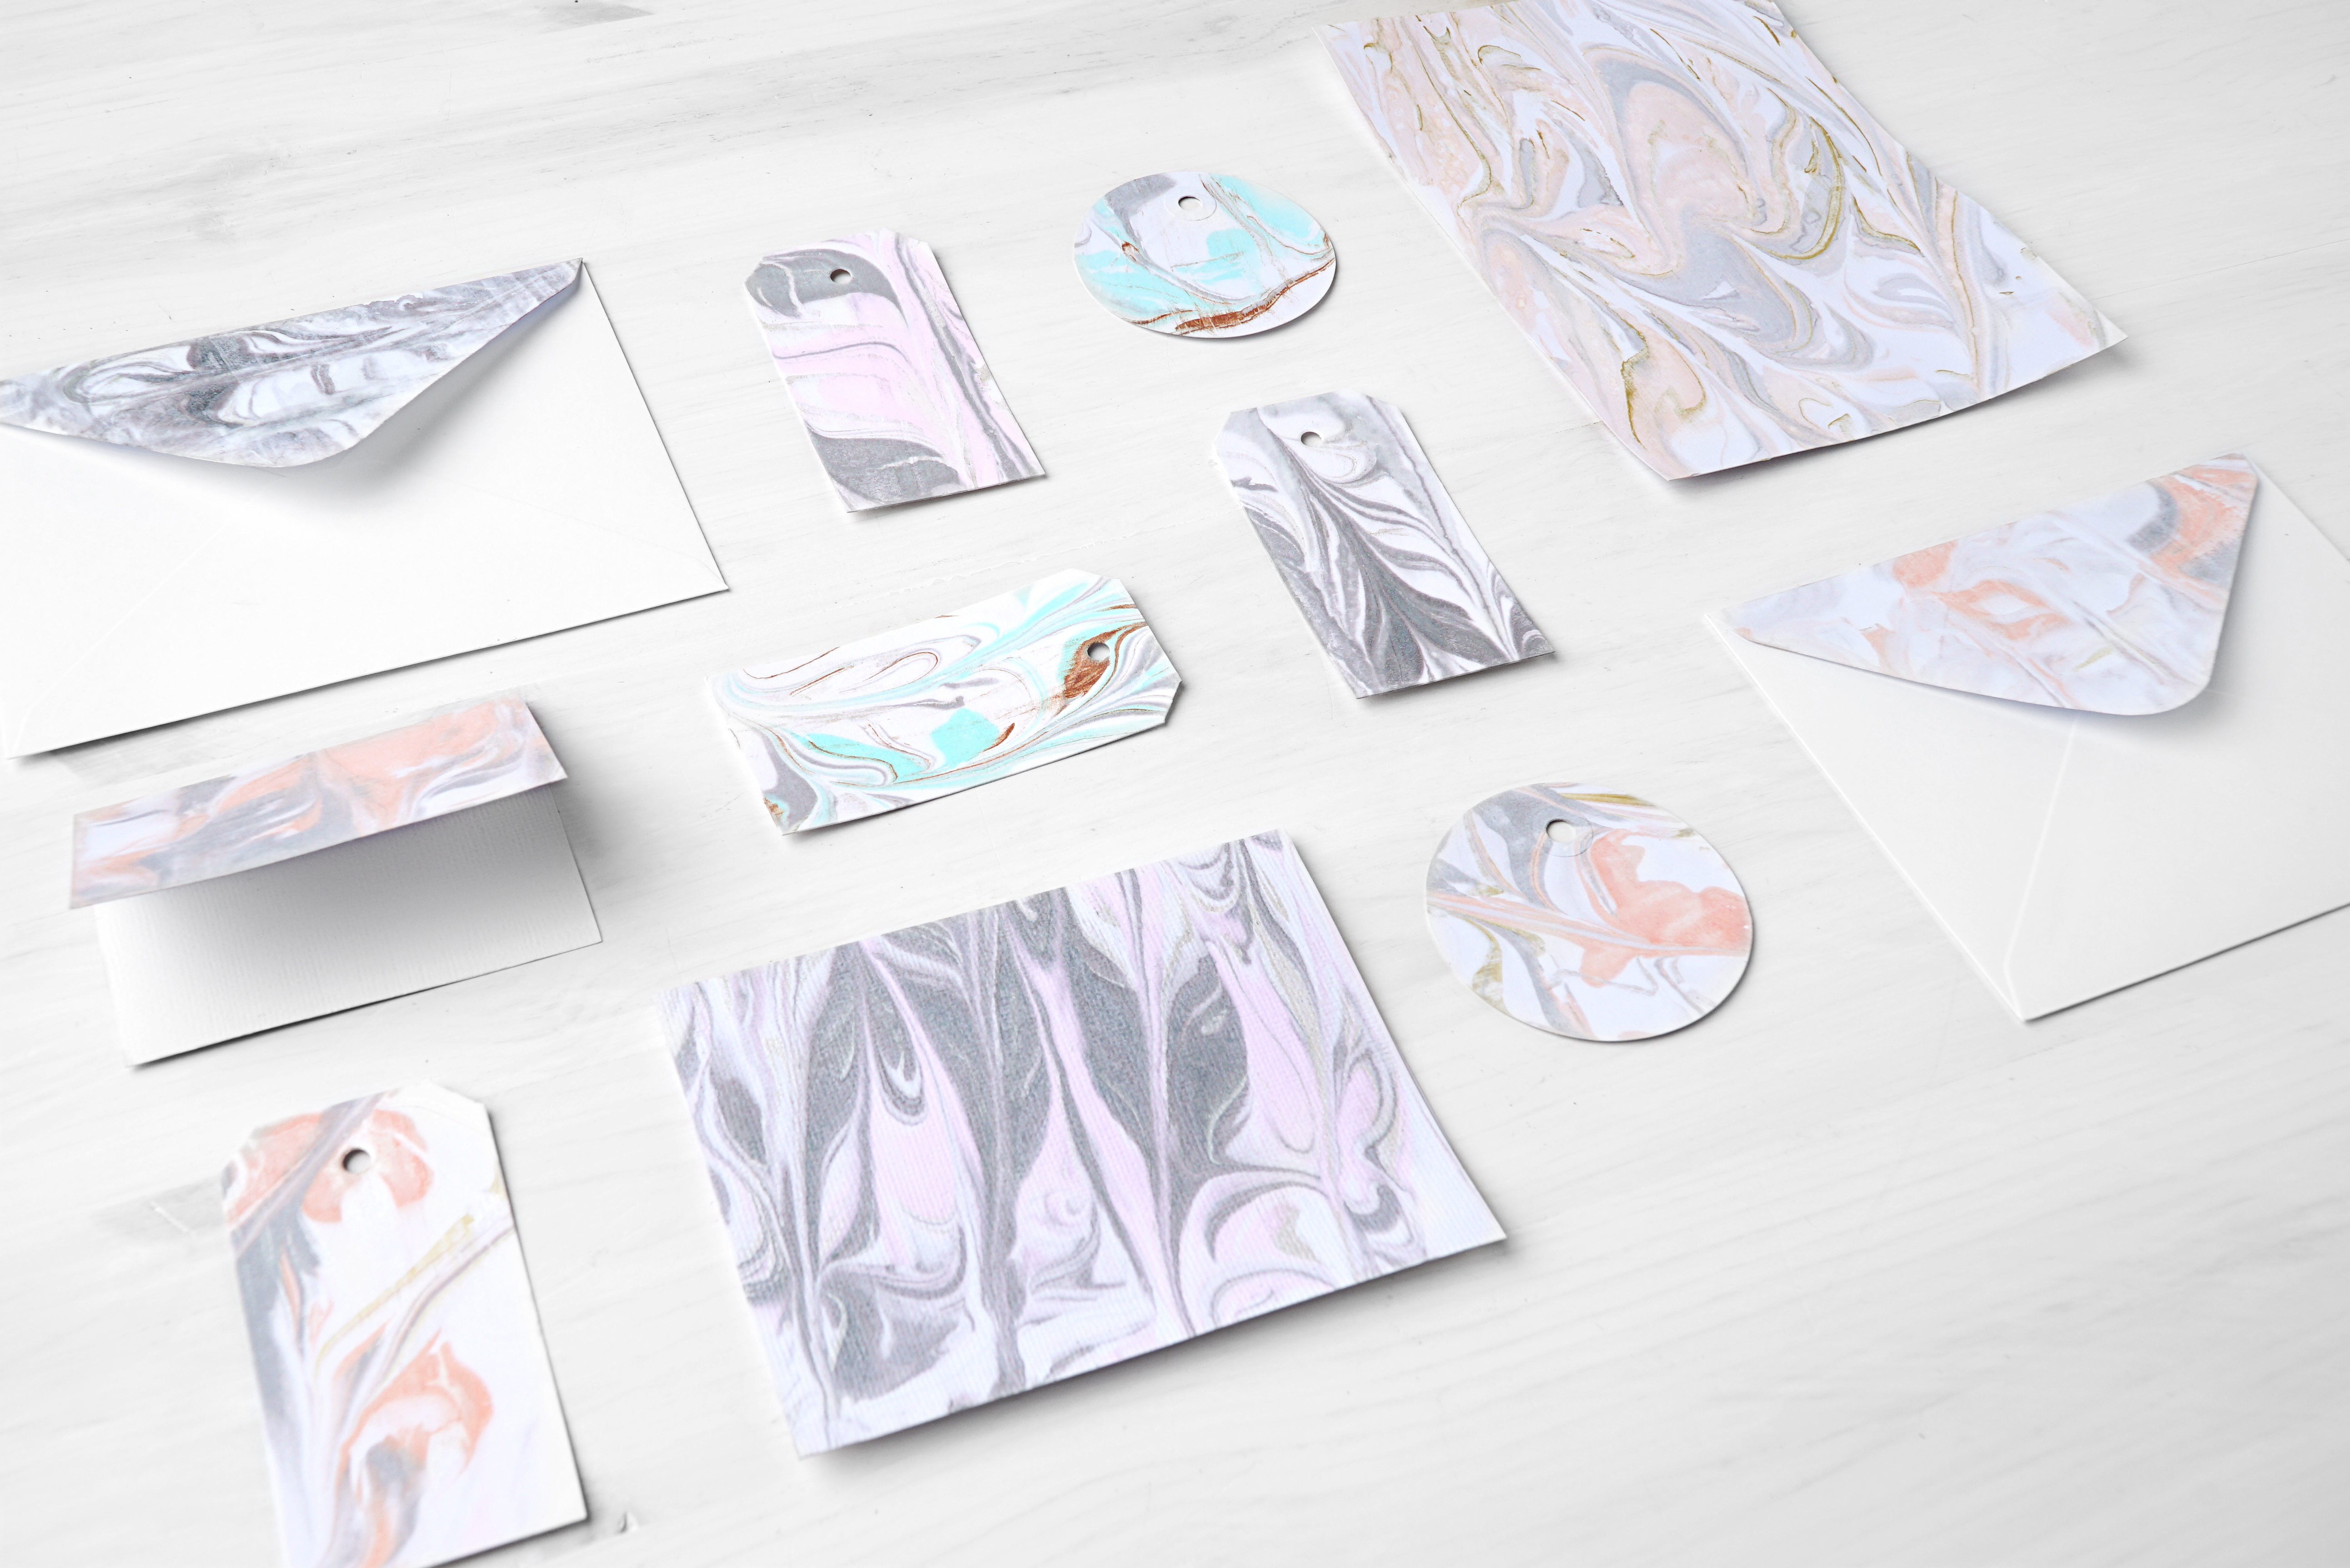
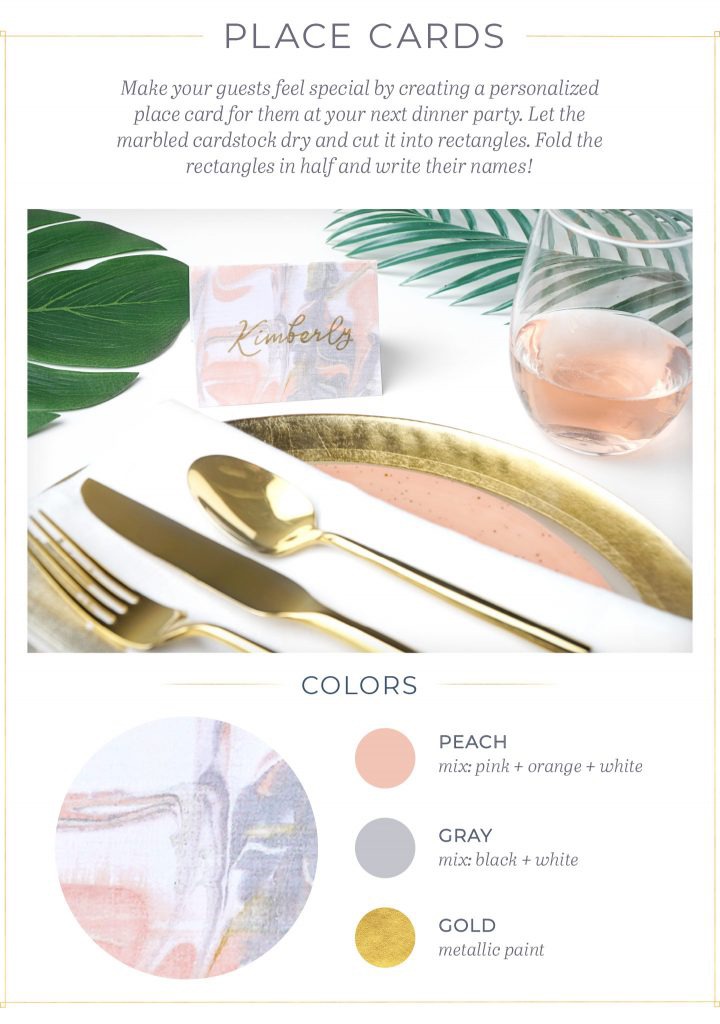
These place cards are also great for weddings, high school reunions and business events. Enjoy!
Learn more marbled paper techniques at FTD.


Patricia Hughes
I love this one! Me and my fiance are arranging a wedding celebration in Birmingham and I’ll take this idea for our event!
laduree
Very very informative article, such a nice explanation and suggestions for an art lover!