
DIY Baby Gender Reveal Party!
My husband and I are expecting our first baby in August. We are very excited, and one of the things we were most excited about was finding out the baby’s gender. Long gone are the days when everyone waits in hospital waiting room for the big news, but we thought it would be fun to have our own DIY Baby Gender Reveal Party!
The day of the big ultrasound, we asked the tech not to tell us the gender, but to tape the answer inside an envelope. Once I had the telltale paper in my hand, I rushed it over to a friend’s house and entrusted her with our secret. It was so hard not to look at the result, but I am proud to say that I did not cheat!
My dear friend got to work baking cupcakes for the party that evening. Based on the contents of the envelope, the cupcake batter was to be pink or blue, and we would find out the baby’s gender, right along with our guests!
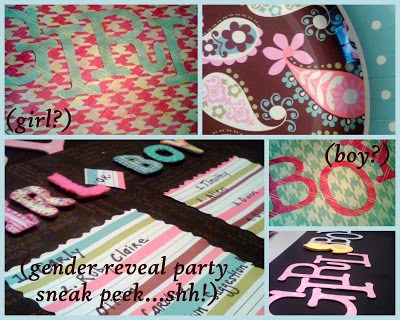
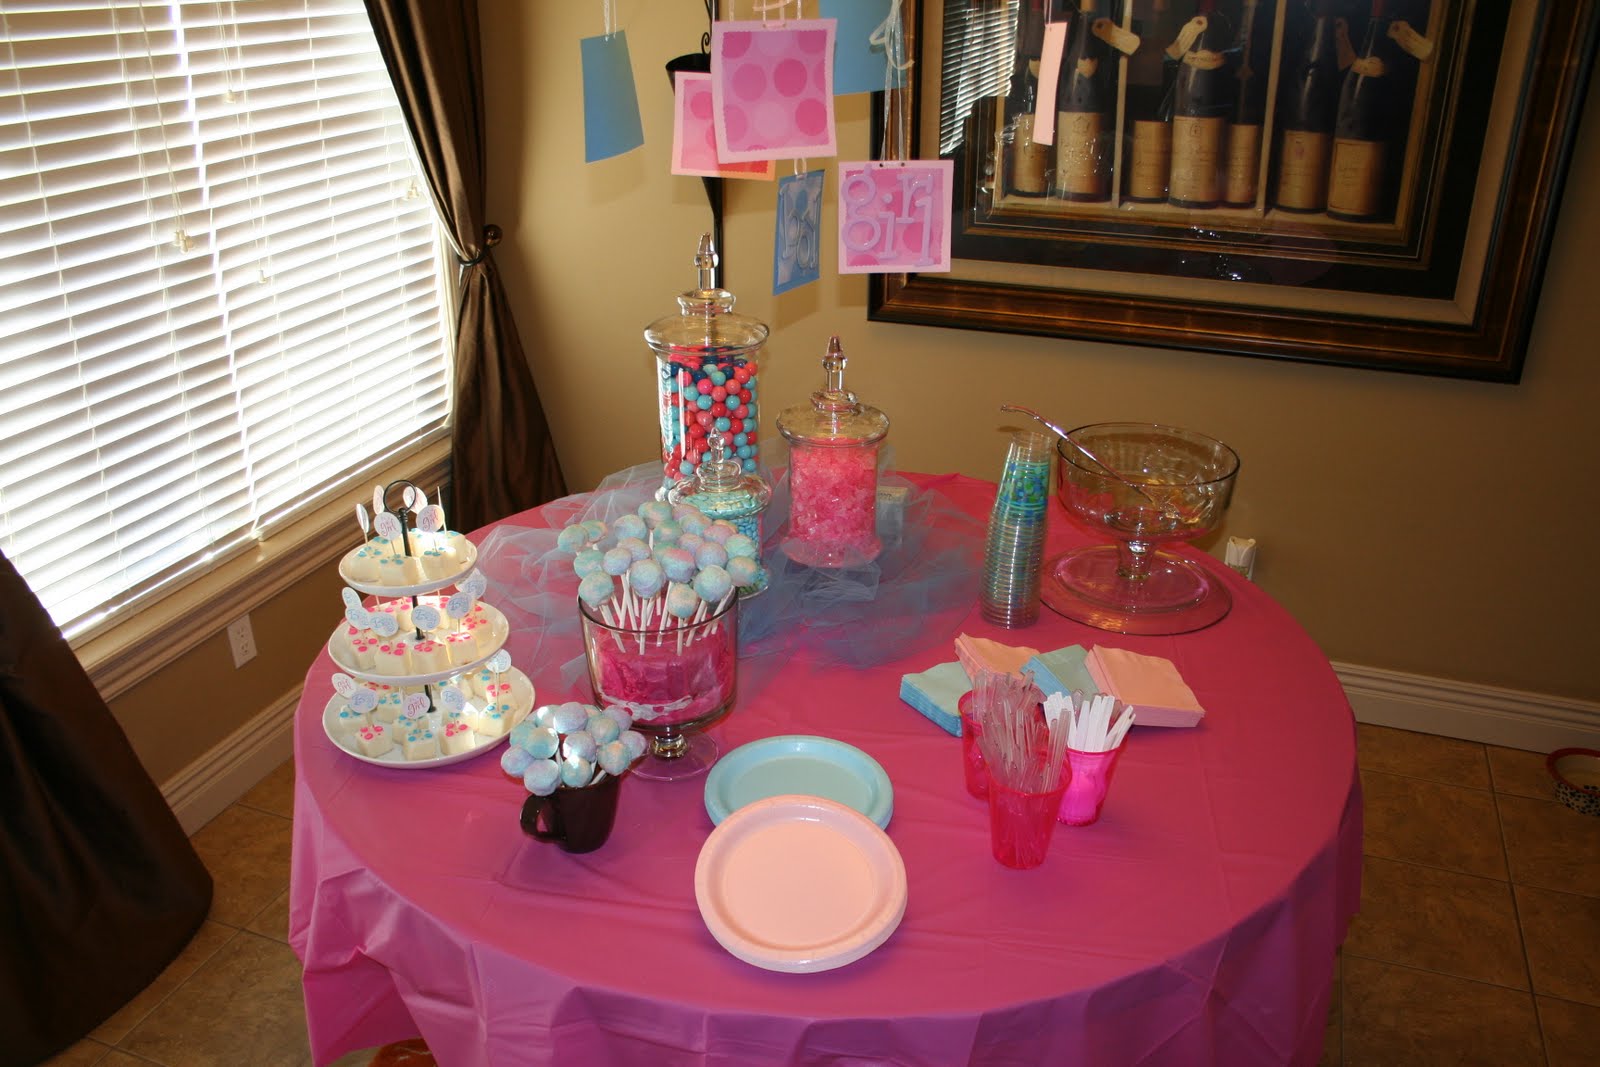
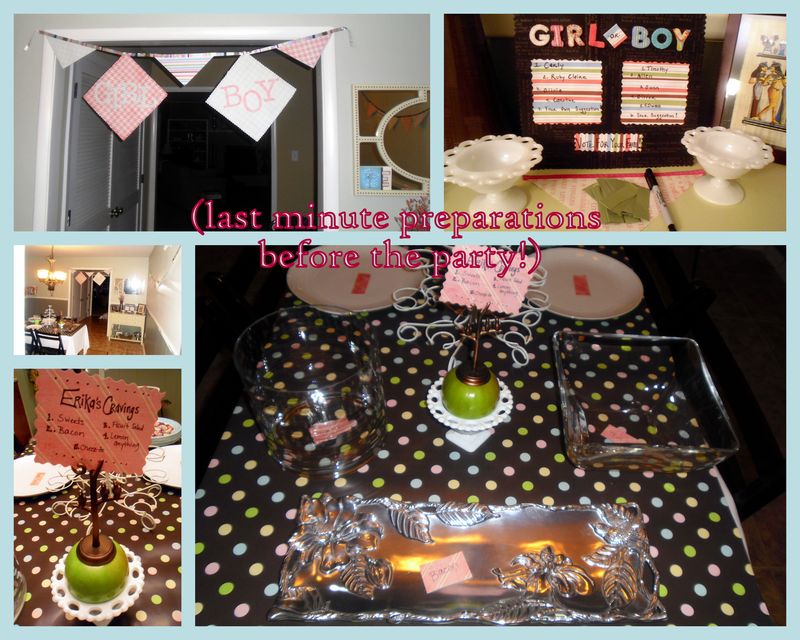
In the days leading up to the party, I got busy making our decorations for the evening:
For inspiration, I used these blogs. They all had such cute ideas, and I tried to incorporate some of the best into my party plans.
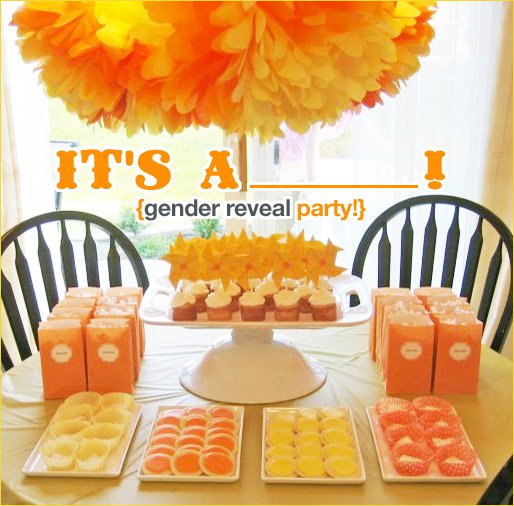
1)Hostess Blog. Loved the presentation, the cohesive design, and the beautiful food!
Loved the guests dressing up in their favorite pink or blue!
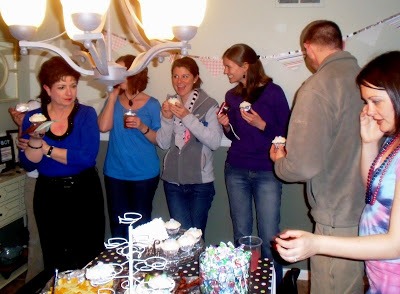
I’m so glad I used these parties for inspiration. Our own gender reveal party was so fun, and everyone said they had a blast. Here are a few photos from the night’s big REVEAL!
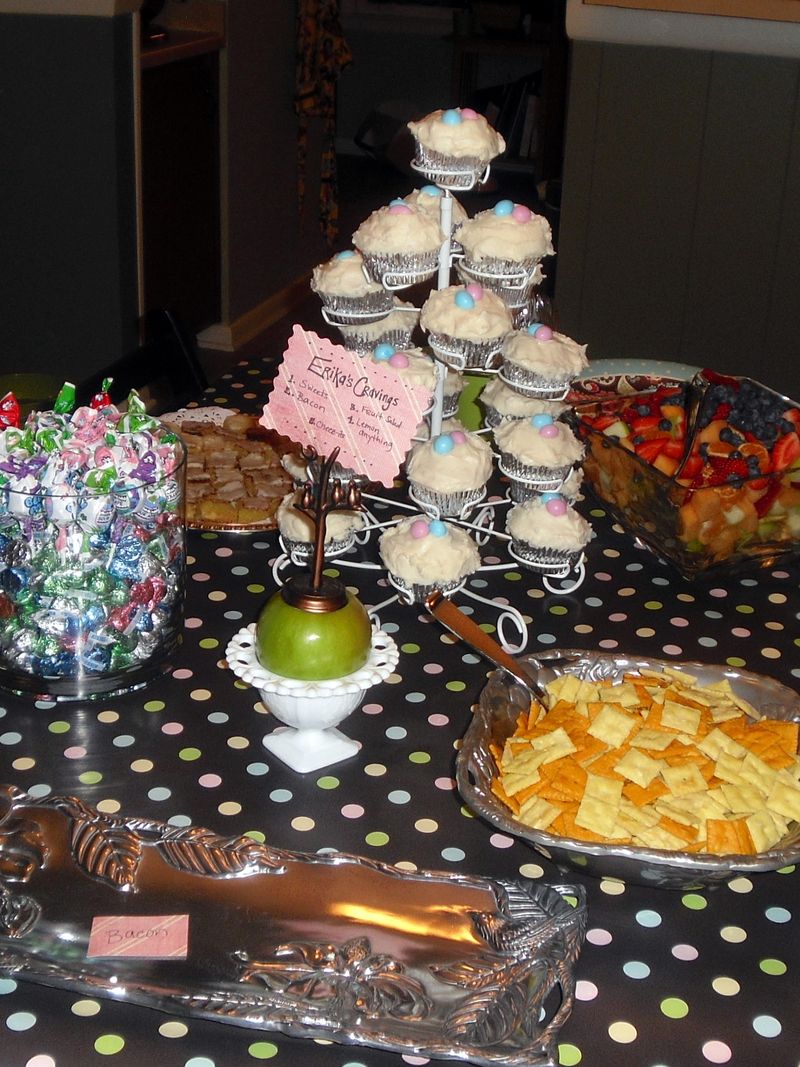
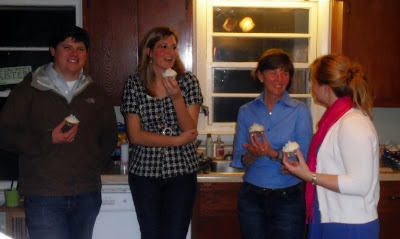
Delicious cupcakes with incredible homemade cream cheese frosting, made by two wonderful friends who got to find out before I did. The batter was either pink or blue, but nobody knew!
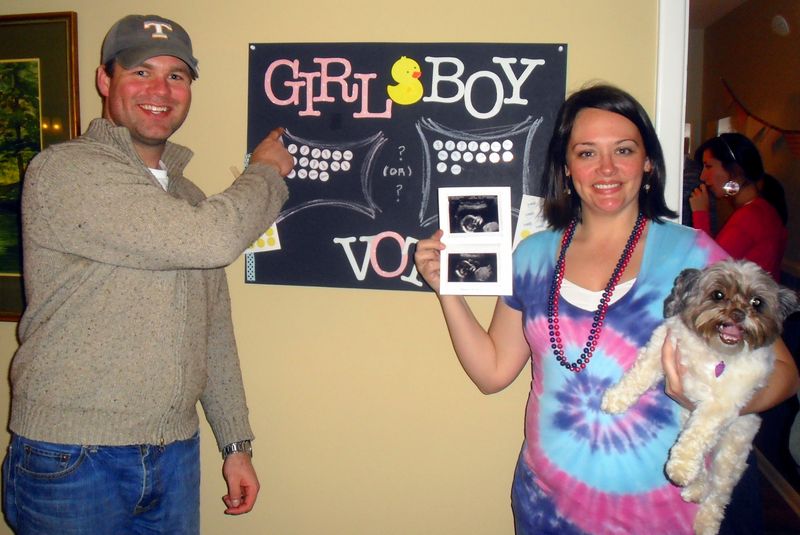
 Top votes for baby names were Ruby Claire for a girl and Oliver for a boy.
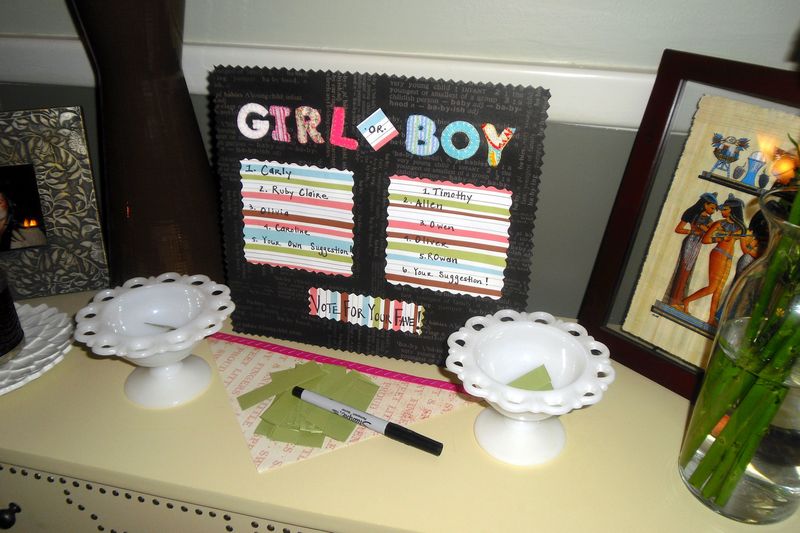
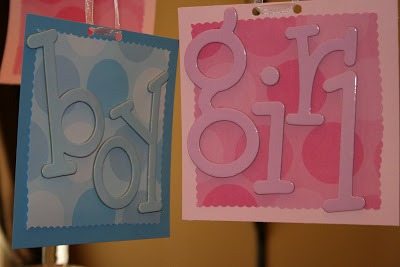
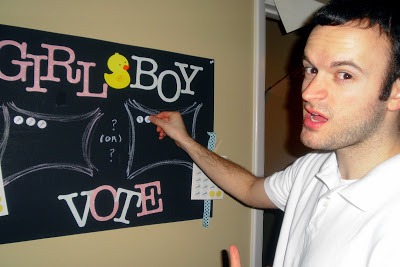
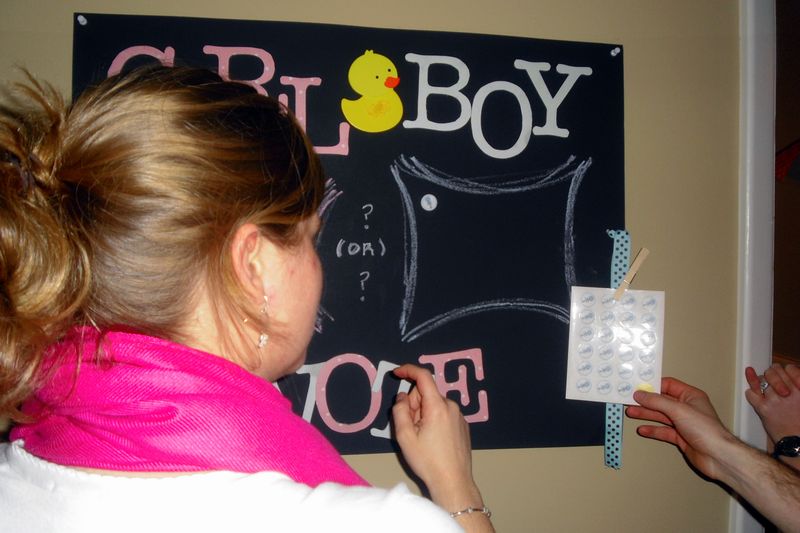
Guests casting their votes.
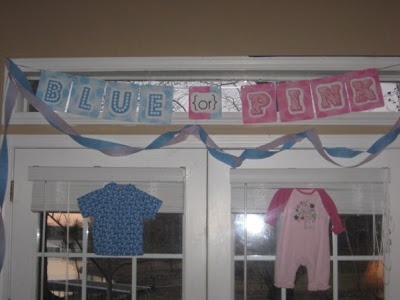
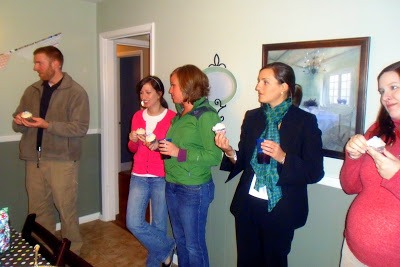
We asked guest to dress in pink or blue, depending on their guess for the baby.
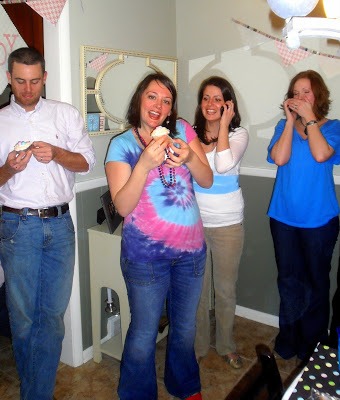
It’s time to find out! Waiting for everyone to get a cupcake…

Ready? 1…2…3…!

Tutus, tiaras and tea parties,


Yummy Mummy
Very cute idea! Coloring the cupcakes is such a neat way to find out!
Dennis
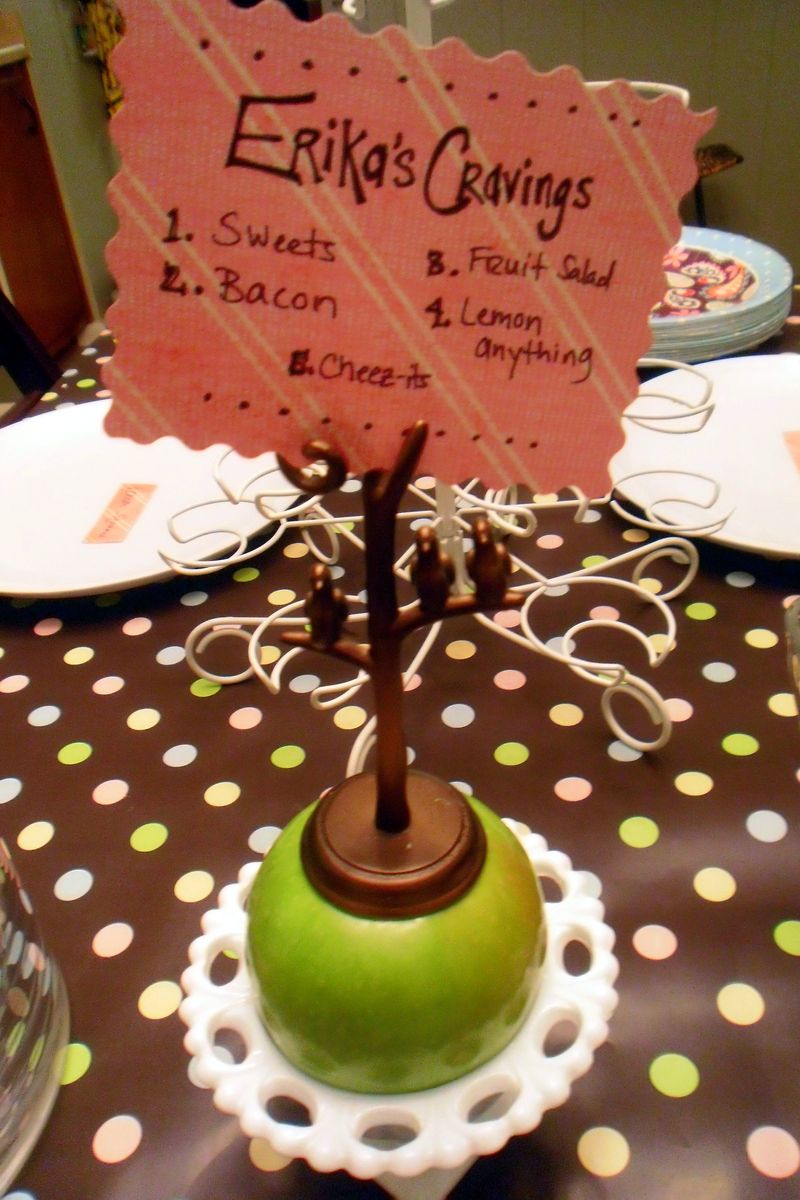
Congratulations, Erika! Love the idea of surprise reveal with cupcakes. But the Erika’s cravings table is the BEST, especially all the bacon! Great party.
Michelle
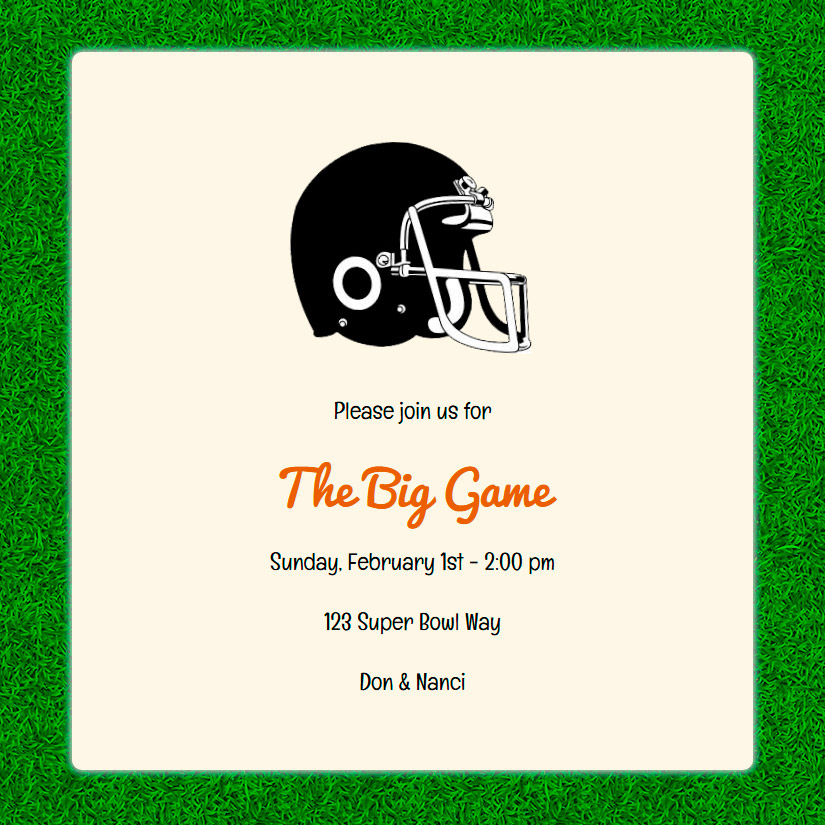
Can you share the wording of your invite?
babyhawk mei tai
Even after knowing the gender of your baby through the ultra sound i still feel excited as maybe there was something wrong with the machine.
Artsy Fartsy
Sure! Here it is:
Long gone are the days when parents and friends find out the gender in the hospital waiting room. Although the wait won’t be as long, let’s gather around and be surprised together!
Come be the first to know if our little sweetie is a BOY or a GIRL! And…We are going to find out when you do!
Join us in the evening for coffee and sweets, surprises and treats.
Don’t be late – we’ll cut the cake around 8!
(A little cheesy, we know, but what can we say…it is our first baby! Wear pink or blue to cast your vote for a baby girl or a baby boy!)
artsy fartsy
Jennifer, I got it at Target. Glad you like it!
Jennifer
Where did you get your shirt??!! I love it!!!
Alisha
Great party!
Artificial Flowers Wholesale
You are a great planer of events, i really enjoyed after read your post. Your post is really nice.
Leslie
Where did you get your polka dot table cloth? It looks just like my invites and can’t fins it anywhere. Thanks! Cute ideas too!
Giant Cupcake Pan
What a great party! 🙂 I absolutely love all of your pictures. What a great way to celebrate.
Artsy Fartsy
Thank you! The polka dot tablecloth is just wrapping paper from Hobby Lobby. I stretched it out, cut to size, and taped the underside of the paper to the table cloth to hold it in place.
Game Reviews
Great party! I just wanted to let you know that I recently featured this post on my blog (my sister threw me a gender reveal party and got part of her inspiration from you)
Christina
Hi, helping a friend for thier gender reveal party… love your pics and ideas 🙂
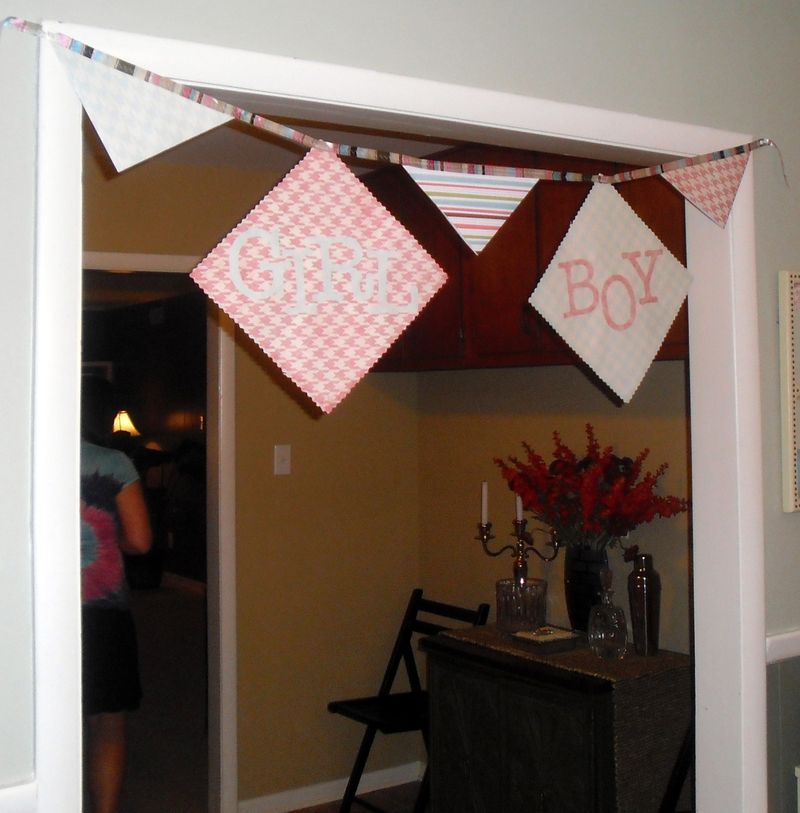
Would you mind sharing how you created your “vote” board and your boy – girl garland? Thank you 🙂
Artsy Fartsy
Sure! For the poster, I bought chipboard letters and covered them in scrapbooking paper. I glued the letters and the duck (premade and sold at Hobby Lobby) onto a black poster board, used chalk to make the boxes, and found some pink and blue stickers for people to use to vote.
As for the banners, I used more scrapbook paper, slid the tops of the paper into binding tape, and ran a zig-zag stitch across the top. If you don’t/can’t sew, you can use this tutorial to make a no-sew banner which is just as cute. http://artsyfartsyshopaholic.blogspot.com/2011/04/tutorial-how-to-make-no-sew-paper-flag.html. Good luck and congrats!