
How to Craft Fantastic Digital Birthday Invitations
When it comes to birthdays, the excitement begins long before the candles are lit and the cake is cut. It starts with the anticipation of receiving that special digital birthday invitation. A well-crafted birthday invitation sets the tone for the celebration to come, getting guests excited for fun. Whether you’re planning a small gathering or a lavish party, here’s a step-by-step guide on how to create a fantastic birthday invitation that will leave your guests eagerly counting down the days.
Go green and opt for digital invitations for your event planning. Online invitations offer several advantages over traditional paper invitations for all occasions and are becoming the norm. They are easy to create, cost-effective, and leave zero carbon footprint. Read the benefits of using digital invitations for your party planning here.
Step 1: Choose a Theme
Every great invitation starts with a theme. Whether it’s a whimsical garden party, a Taylor Swift-themed birthday party, or a retro ’70s bash, your theme will dictate the design elements of your invitation. Consider the birthday person’s interests, favorite colors, and personality when selecting a theme to ensure it reflects their style and sets the right mood for the event.
Step 3: Design with Flair
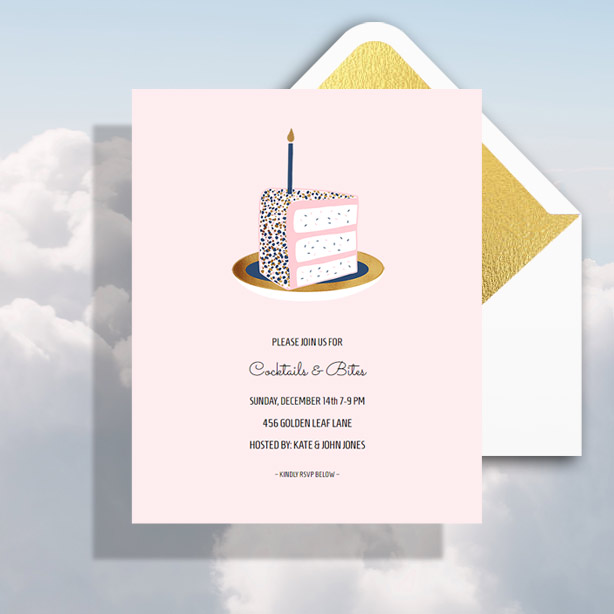
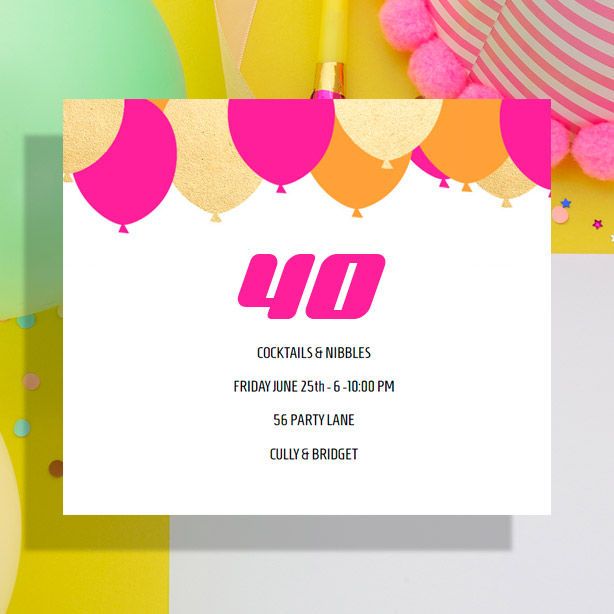
Now it’s time to get creative with the design. Incorporate elements that tie back to your chosen theme, such as a graphic, their favorite song or music that matches the theme of event. Use vibrant colors and eye-catching fonts to make your invitation pop. Add fun confetti animation to your design – falling hearts, stars or snowflakes are found in the Sendo dashboard when creating your invitation. Don’t forget to include essential details like the date, time, location, RSVP information, and any special instructions or requests.
Step 4: Add a Personal Touch
Make your invitation feel extra special by adding a personal touch. Include a heartfelt message or a witty pun that reflects the birthday person’s personality. Consider adding a photo of the birthday person or a collage of memorable moments to evoke nostalgia and excitement among guests.
Step 5: Proofread and Review
Before sending out your invitations, take the time to proofread and review everything carefully. Check for spelling and grammar errors, ensure all the details are accurate, and double-check the RSVP information. It’s always a good idea to have a second pair of eyes look over the invitation to catch any mistakes you might have missed. If you do find you have made an error after you send your invitation out, do not worry, it’s easy to change or add event information at any time, even after you have sent out your invitation.
Step 6: Choose the Delivery Method
Once your invitation is ready to go, decide on the best delivery method. Send your digital invitation via email text message, or a sharable URL. If you have guest email addresses, adding them to our system is easy. If you have guest cell phone numbers, you can send your invitation via text message easily through our dashboard. Or, post your invitation on social media, it’s easy with our shareable link.
Step 7: Follow Up
After sending out your invitations, don’t forget to follow up with guests who haven’t RSVP’d. A friendly reminder sent through your dashboard can help ensure you have an accurate headcount for the party and give guests the nudge they need to respond.
Step 8: Get Ready to Party!
With your fantastic birthday invitations sent out, all that’s left to do is prepare for an unforgettable celebration. Whether it’s a small gathering of close friends or a big blowout with everyone you know, your carefully crafted invitations have set the stage for a birthday bash to remember.
Cheers to another year of memories in the making!
Create a Birthday Invitation
Pingback: Digital Tools to Enhance Your Birthday Invitations